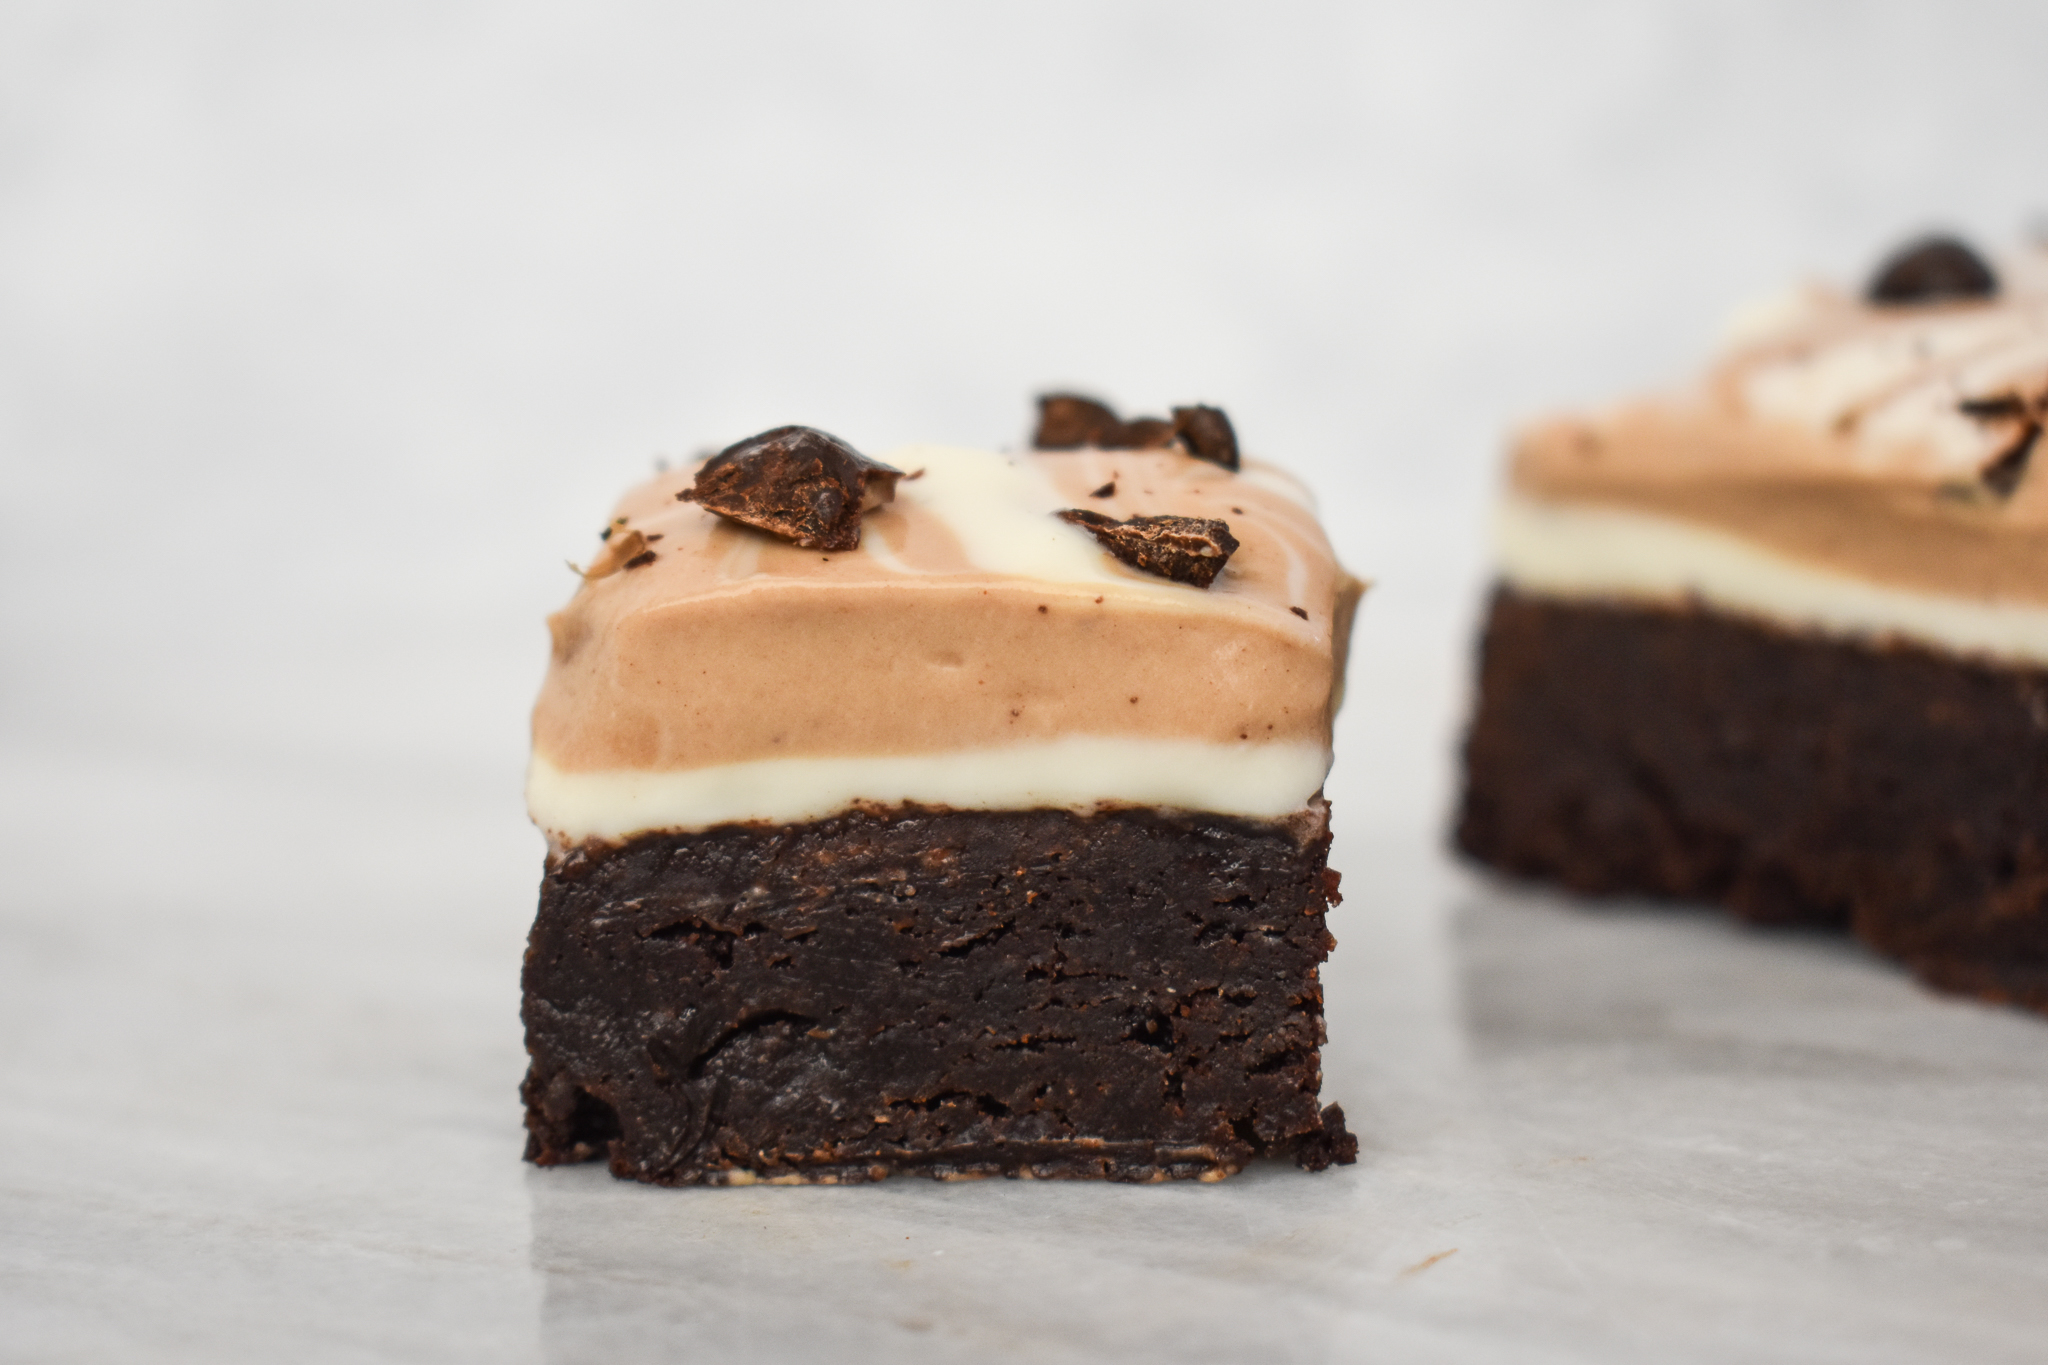
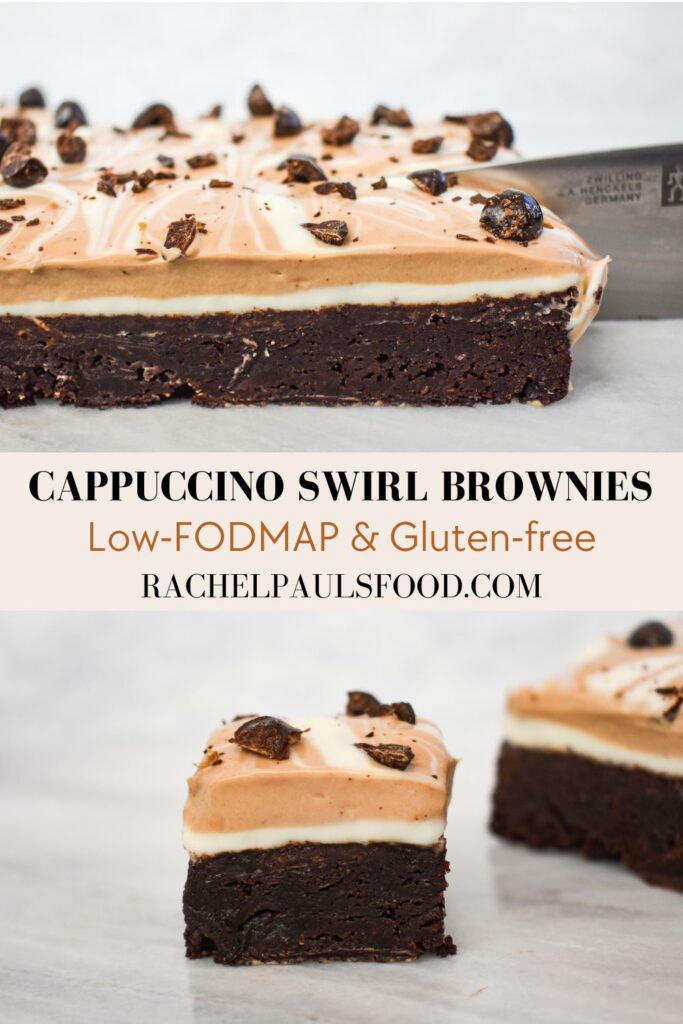
Love shortcut recipes? Try my low-FODMAP Cappuccino Swirl Brownies, using gluten-free brownie Mix. Easy and delicious.
So easy and so delicious. This recipe for low-FODMAP Cappuccino Swirl Brownies incorporates my low-FODMAP Happy Baking Fudgy Brownie mix (but other low-FODMAP and gluten-free mixes will also work great) so you can have a fancy layered brownie dessert with minimal prep and guaranteed results.
Or if you want a scratch-made option, bake up some Ooey Gooey Low-FODMAP Brownies; Gluten-free instead.

You may also love my:
- Low-FODMAP Dream Bars
- Low-FODMAP 3 layer Nanaimo Bars
- Low-FODMAP Lemon Bars
- Low-FODMAP Chocolate Chunk Blondies
- Low-FODMAP Microwave Chocolate Chip Cookies
- Low-FODMAP No-Bake Oats and Chocolate Cookies
Or check out over 600 more low-FODMAP recipes on the blog! IBS-friendly.
Be healthy and happy,
Rachel Pauls, MD
Although this recipe has not been lab tested, a single serving should be low-FODMAP based on the ingredients, using FODMAP data at time of posting
Serves 20, serving size 1 brownie
Prep time: 20 min plus chilling (2-4 hours, or overnight is best)
Bake time: around 30 min to make brownies
Ingredients
Base layer:
- 1 tray prepared low-FODMAP and gluten-free brownies, cooled
- Can also substitute my low-FODMAP Brownies
- I like Betty Crocker (GF) and King Arthur (GF)
Filling:
- Two 8 ounce packages lactose-free cream cheese (total 16 ounces for recipe)
- 1 cup sugar
- 3/4 cup heavy whipping cream; divided
- About 1/4 cup of liquid whipped cream is one low-FODMAP serving
- 1 tbsp instant espresso granules
- 2 teaspoons unsweetened cocoa
- 1/8-1/4 tsp guar gum (optional); divided for thickening
- The longer you chill these, the thicker the topping will become, and you shouldn’t need the guar gum (overnight chill is best, or even 2 days). However, I find lactose-free cream cheese to be thinner than regular cream cheese, so if yours is runny then this can help. I did not use guar gum, but found that the second day was the best for slicing 🙂
Garnish:
- 4 tbsp coarsely chopped dark chocolate covered espresso beans
Directions
- Prepare brownies, if not already completed, allow to cool
- Beat lactose-free cream cheese and sugar in the bowl of a stand mixer with flat paddle on medium-high until creamy (about 3 minutes)
- Reduce speed to low and slowly beat in ½ cup of the cream until stiff peaks form
- If your lactose-free cream cheese is a bit runny at this point, add 1/8 tsp guar gum to act as a thickener by sprinkling over the mixture and blending well
- Once well mixed, remove 3 tablespoons of this cream cheese mixture and set it aside for later
- Spoon 1/2 of the cream cheese mixture over the brownie pan (except for the 3 tablespoons you set aside)
- Place the brownie pan in the refrigerator to chill while you make the top cappuccino layer
- Place your 1/4 cup remaining cream in a small bowl and microwave until warm (about 20 seconds)
- Add espresso granules and cocoa and stir until dissolved
- Chill 10 minutes in freezer, then beat into the reserved cream cheese mixture on medium speed until thickened
- If your topping is a bit runny at this point, add 1/8 tsp guar gum to act as a thickener by sprinkling over the mixture and blending well
- If you have overnight to chill these, they should firm up without the guar gum. However, it does help with the thickening process
- Remove the brownies from the fridge and spread the cappuccino layer over the middle cream cheese layer
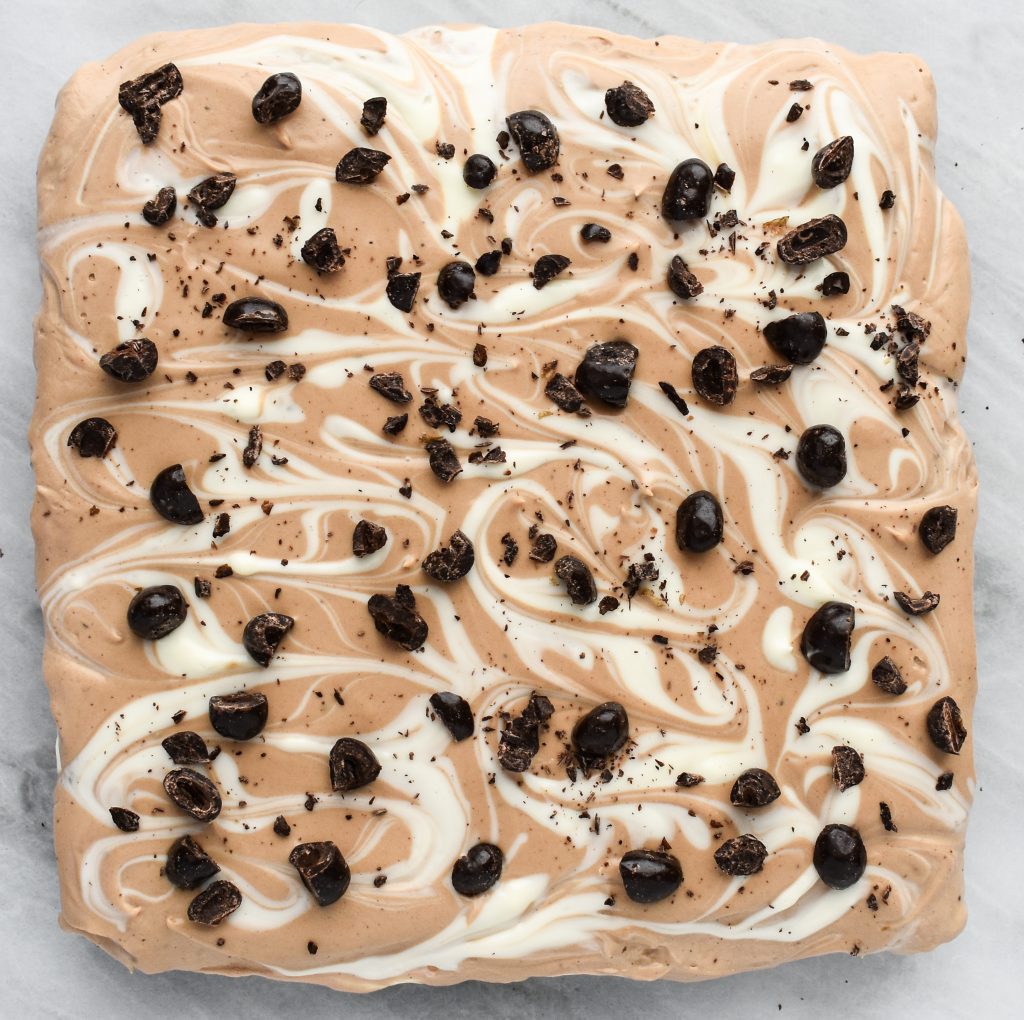
- Take the reserved 3 tablespoons of the first mixture and dollop little teaspoon sized drops over the cappuccino layer
- Using a knife or a toothpick (I used a chopstick), swirl the top of the mixture to create wavy lines
- Chill until very cold (at least 2 hours- the longer you chill this, the thicker the layers will be, this helps with serving), then garnish with espresso beans before serving