
Low-FODMAP Vanilla Wafer Cookies; aka low-FODMAP Copycat ‘Nilla’ Wafers. The perfect, light and slightly sweet cookie.
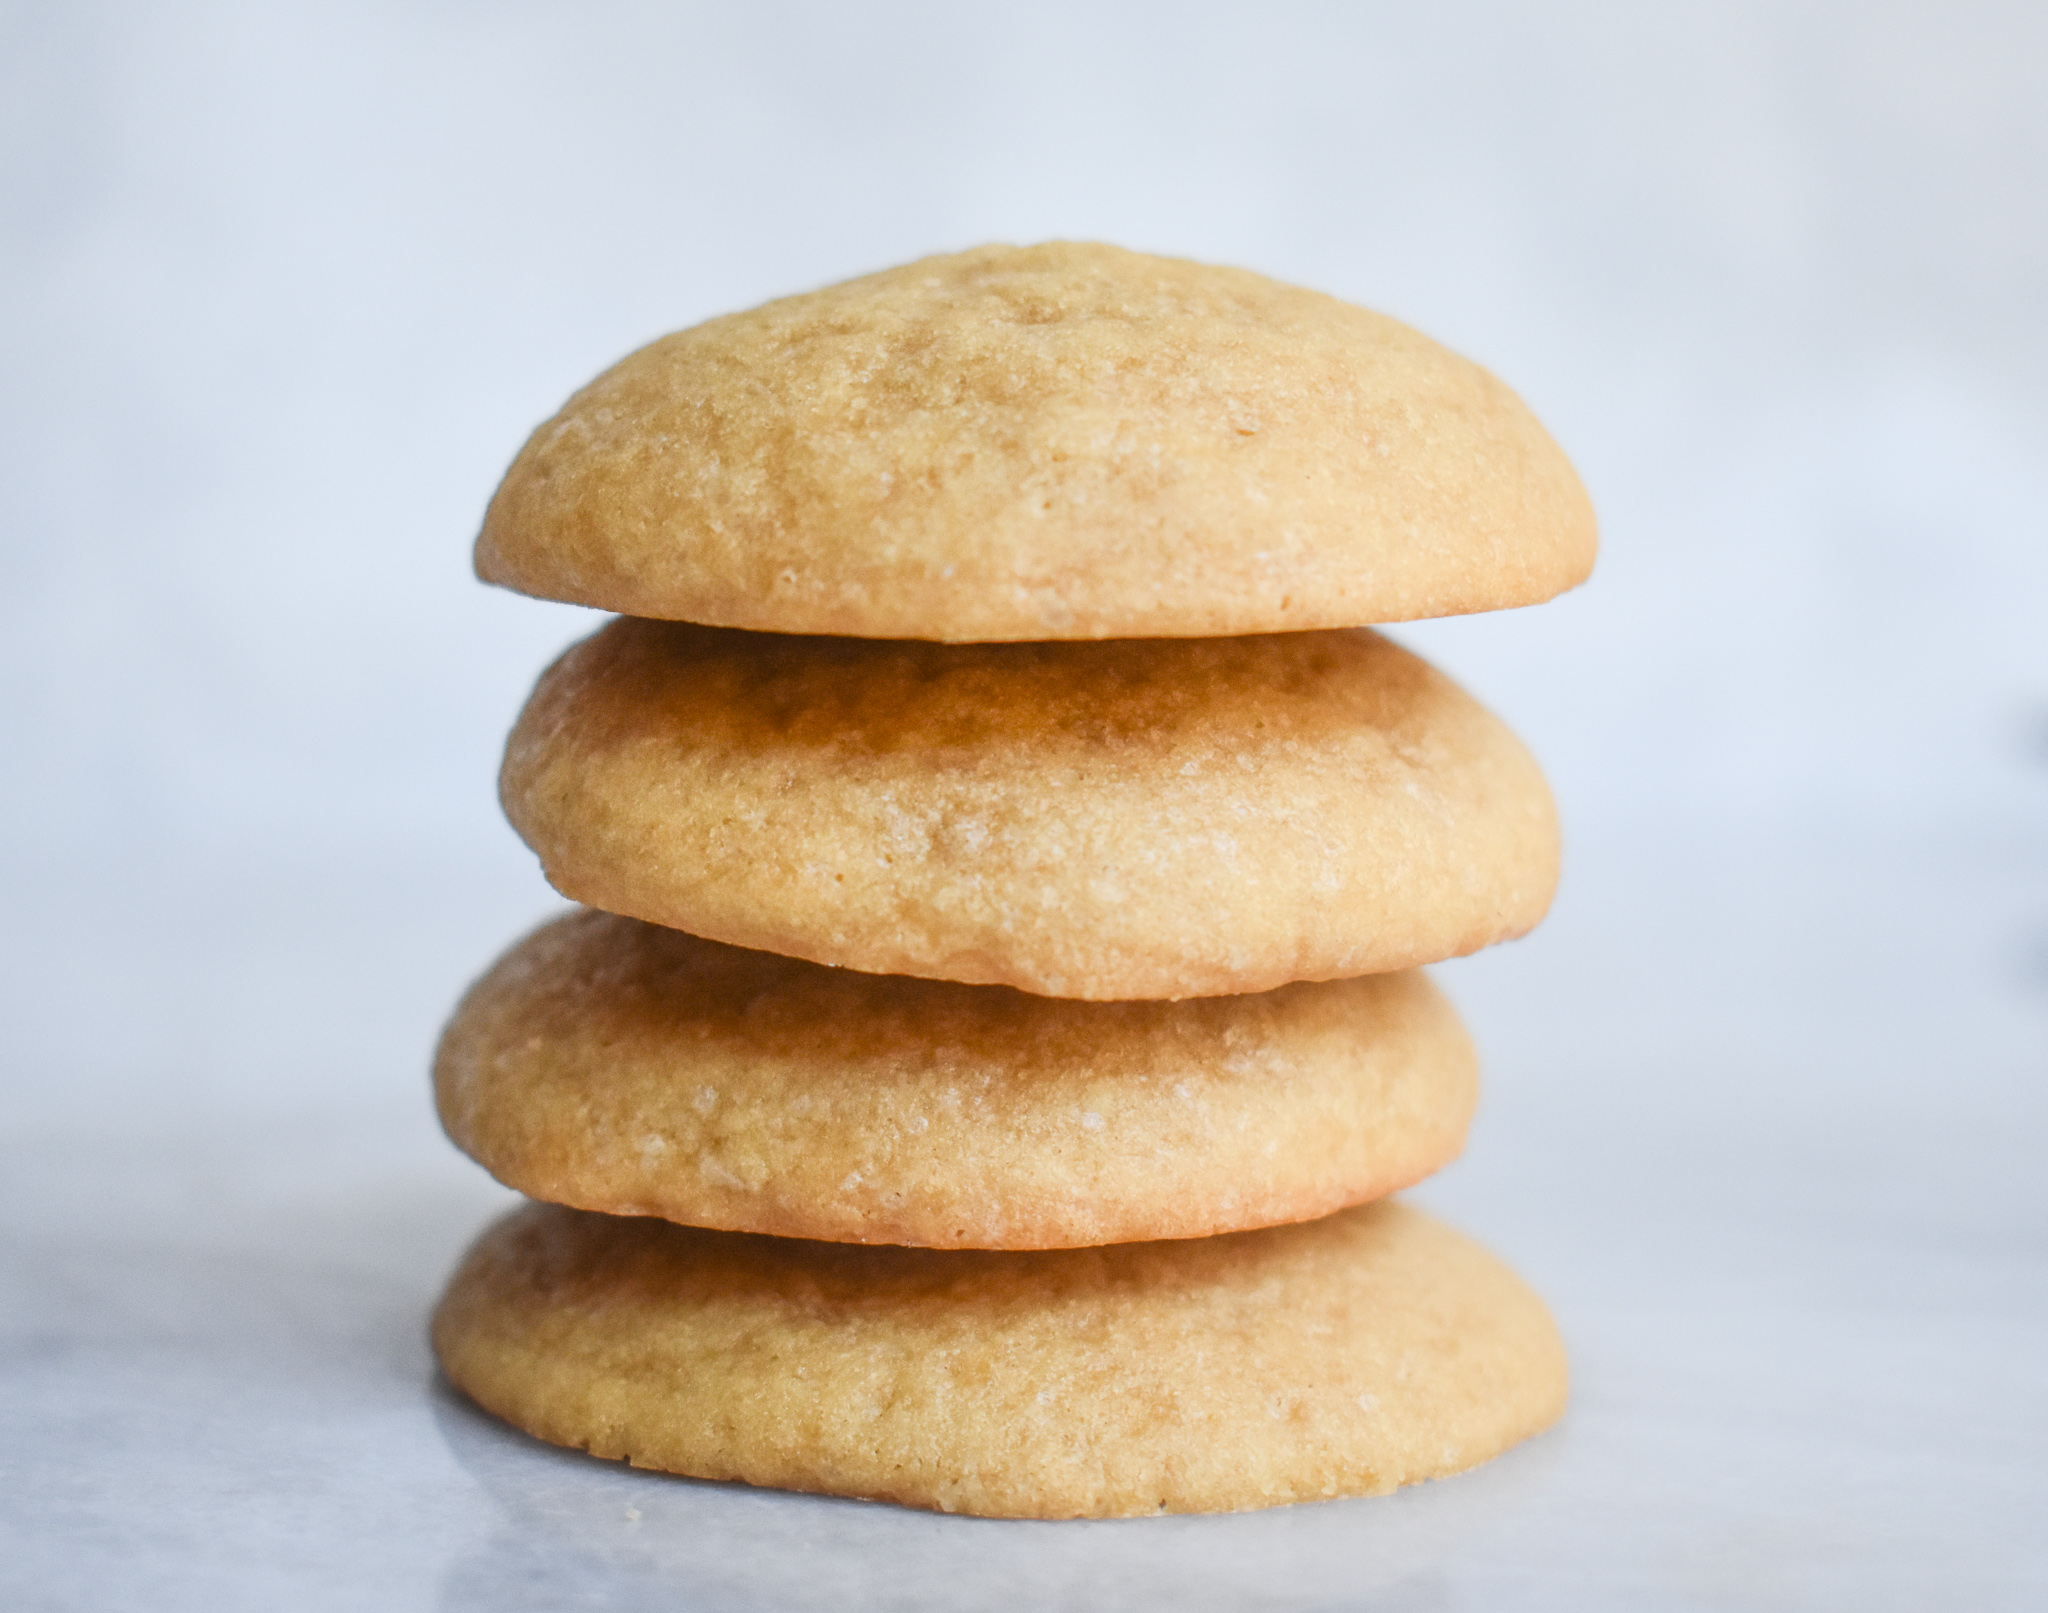
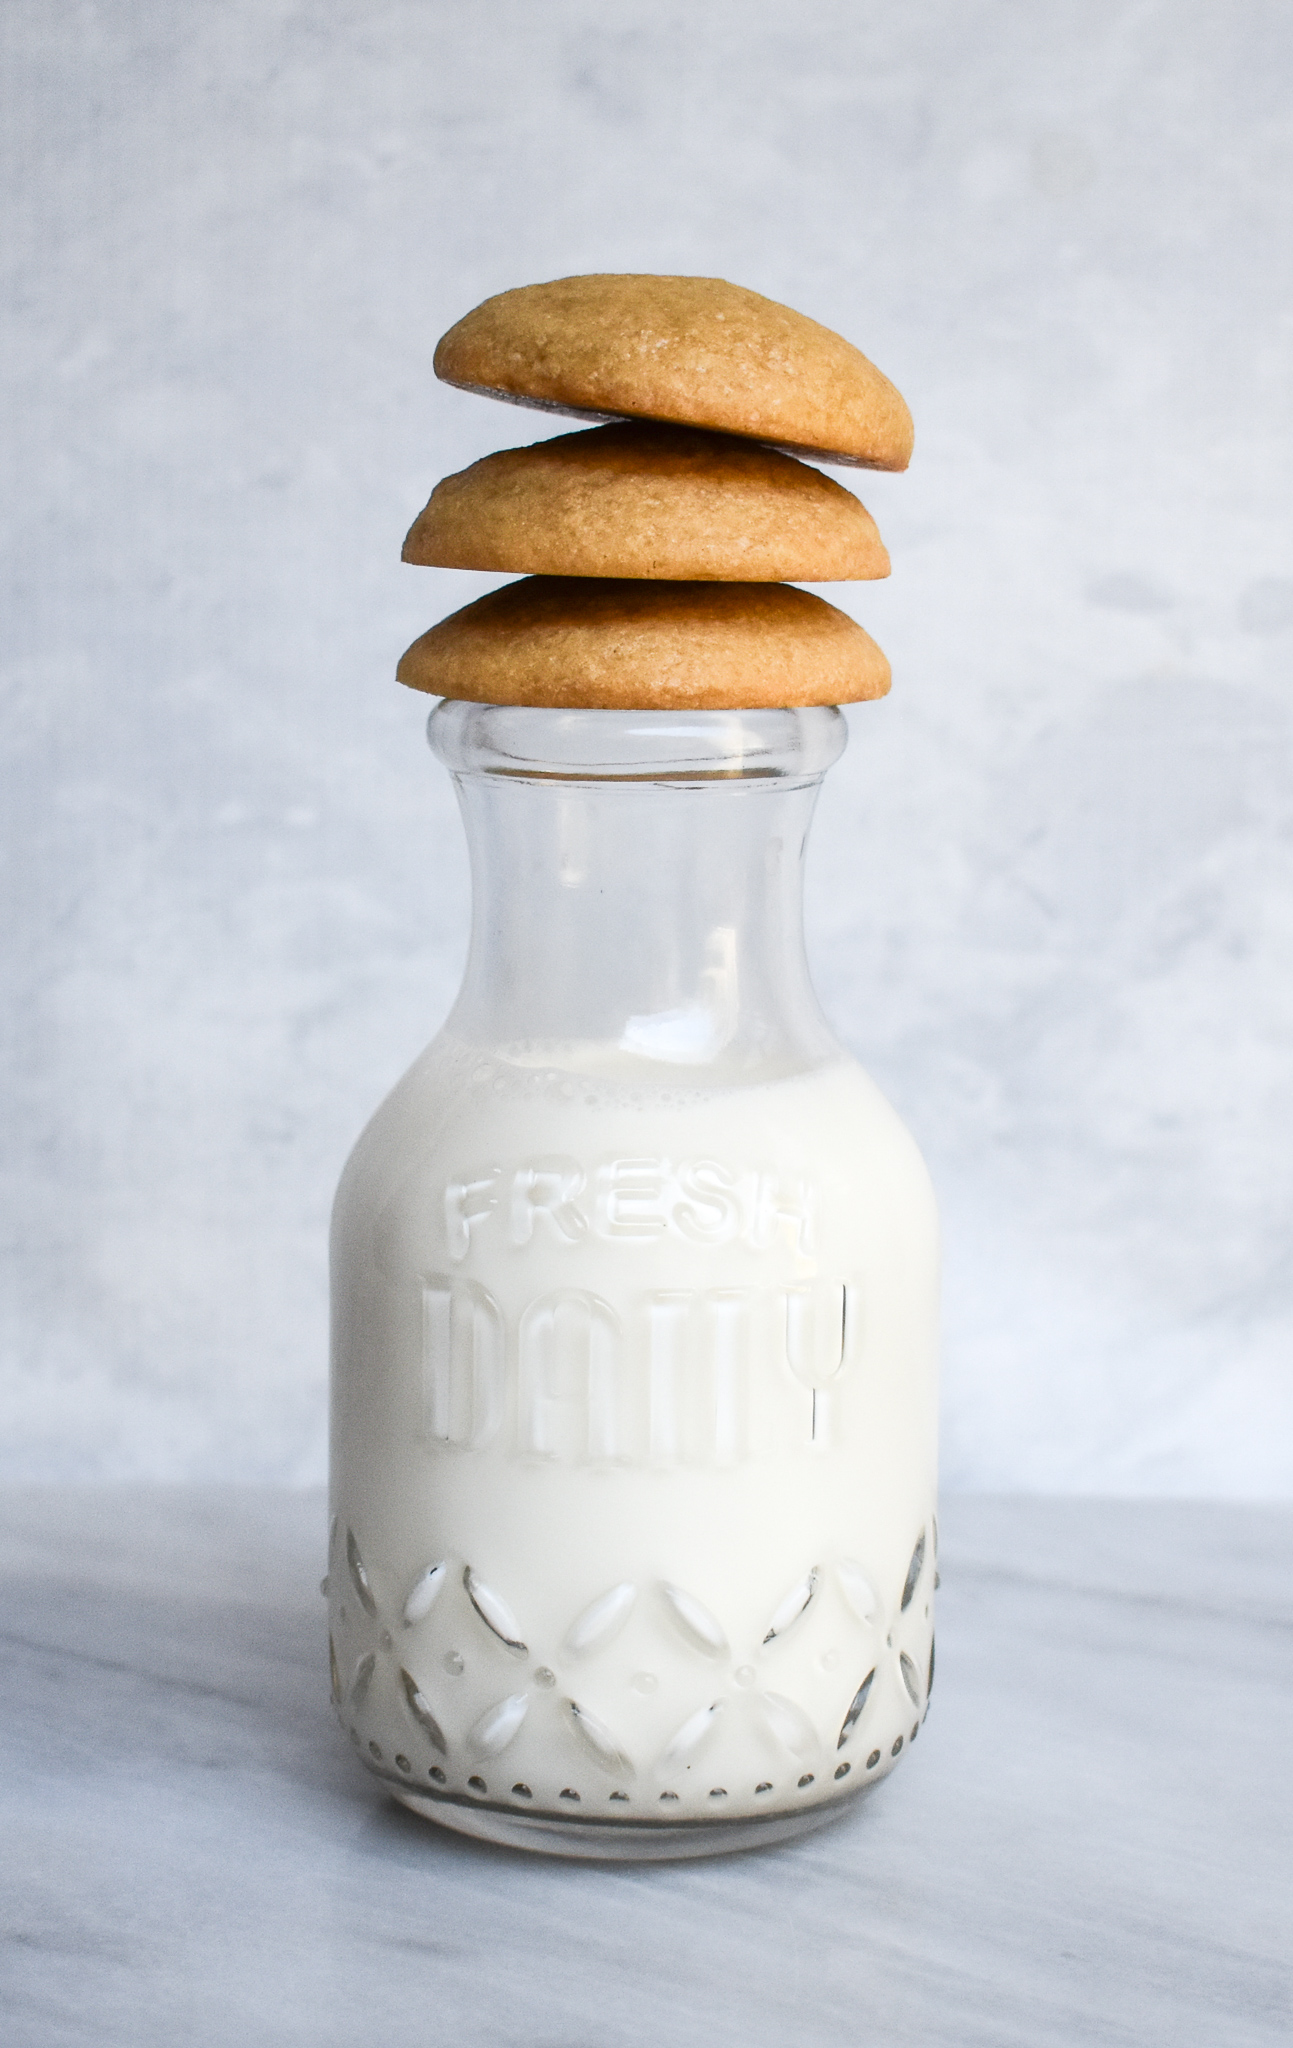
This low-FODMAP Copycat ‘Nilla’ (vanilla) Wafer is the ideal addition to a low-FODMAP Banana Pudding (try my low-FODMAP Vanilla Custard layered with low-FODMAP Nilla cookies and bananas), or alongside low-FODMAP Ice Cream. I missed these cookies before this recipe!
You will love that these low-FODMAP cookies are easy to make, and your family will appreciate how delicious they taste.
Check out my:
Or browse my Best Low-FODMAP Cookie Collection for other cookie inspiration like:
I have over 600 more low-FODMAP recipes for you to try. IBS-friendly!
Be healthy and happy,
Rachel Pauls, MD
Low-FODMAP ‘Copycat’ Nilla Wafer Cookies; Gluten-free

Although this recipe has not been lab tested, a single serving should be low-FODMAP based on the ingredients, using FODMAP data at time of posting
Yield: 30 cookies
Serving size 1-2 cookies
Prep time: 20 min
Chilling time: 30-60 minutes or overnight
Bake time: 15 -17 min
Total time: 35-40 min plus chilling
Bake: 325 F
Modified from: glutenfreeonashoestring.com/ nilla-wafers/
Ingredients
- 1 & 1/3 cups low-FODMAP, gluten-free flour (I use Authentic Foods GF Classical Blend- see my low-FODMAP bake off blog for the reason why!)
- 1/2 teaspoon xanthan gum (if not included in your low-FODMAP flour choice)
- 1/2 teaspoon baking powder
- 1/8 teaspoon baking soda
- 1/2 teaspoon salt
- 8 tablespoons (½ cup) unsalted butter, at room temperature (can substitute Earth Balance vegan spread if desired for dairy-free)
- I used butter
- 1/2 cup packed light brown sugar
- 1/2 cup granulated sugar
- 1 large egg, room temperature
- 4 teaspoons vanilla extract
- 2 tablespoons low-FODMAP milk (such as almond milk for dairy-free, or lactose-free milk)
Directions
- Preheat the oven to 325°F
- Line rimmed baking sheets with unbleached parchment paper or silicone mats and set them aside
- In a large bowl, mix together the low-FODMAP flour, xanthan gum, baking powder, baking soda and salt
- In a separate small bowl, whisk egg. Add low-FODMAP milk and vanilla and combine by hand
- In your electric mixer with flat paddle attachment, beat butter
- Add in sugars slowly, beating well after each addition
- You want to cream the sugar and butter together well
- Add egg/milk mixture and beat
- Slowly add the flour mixture and continue to beat well and scrape down bowl as necessary, on medium to high speed
- When dough is well combined and like a thick paste, cover bowl and place in refrigerator for 30 minutes to 1 hour, to make dough easier to handle
- Can also wrap dough in plastic wrap and refrigerate for up to 1 month at this point
- When dough is firm, using cookie scoop or a tablespoon, scoop dough in small balls onto prepared sheets and flatten tops with fingers
- Space these about 2 inches apart, they will spread
- Place the baking sheet in the center of your preheated oven and bake for 15 to 17 minutes
- If you desire a harder cookie, bake 17-20 minutes or watch until the tops are more of a golden brown
- Cool 3-4 minutes on the baking sheets then transfer to wire rack
- Store in airtight container if they last!
- Absolutely scrumptious!




4 Responses
Love these
This is so cool! I used the leftover cookies for a pie crust. Yummy.
Sounds perfect Sadie! Thanks for your review.
Simple is Good
Am making these in order to make your chocolate salami logs. However, could not resist “taste-testing” them and they taste light and lovely (superb with a glass of milk) for the young ones. I cut down the sugar (to a third cup each) and is still plenty. Have kept half the dough in the fridge for my next adventure (probs your key lime or trifle. Thanks so much.
The Mrs!
We are so impressed at your planning and love hearing about your experience with these cookies!! We agree that they are absolutely delightful. We can’t wait to hear how the other recipes go as well. Happy holidays!!