As a Canadian growing up, there would be butter tarts at every festive occasion.
One winter during my medical training, I boarded for 2 months in a small Northern community. The lady I lived with had a freezer full of Christmas baking leftovers (butter tarts). She told me to enjoy ‘as many as I wanted’.
That was a mistake. I probably went through dozens of tarts. They tasted great, even from the freezer!
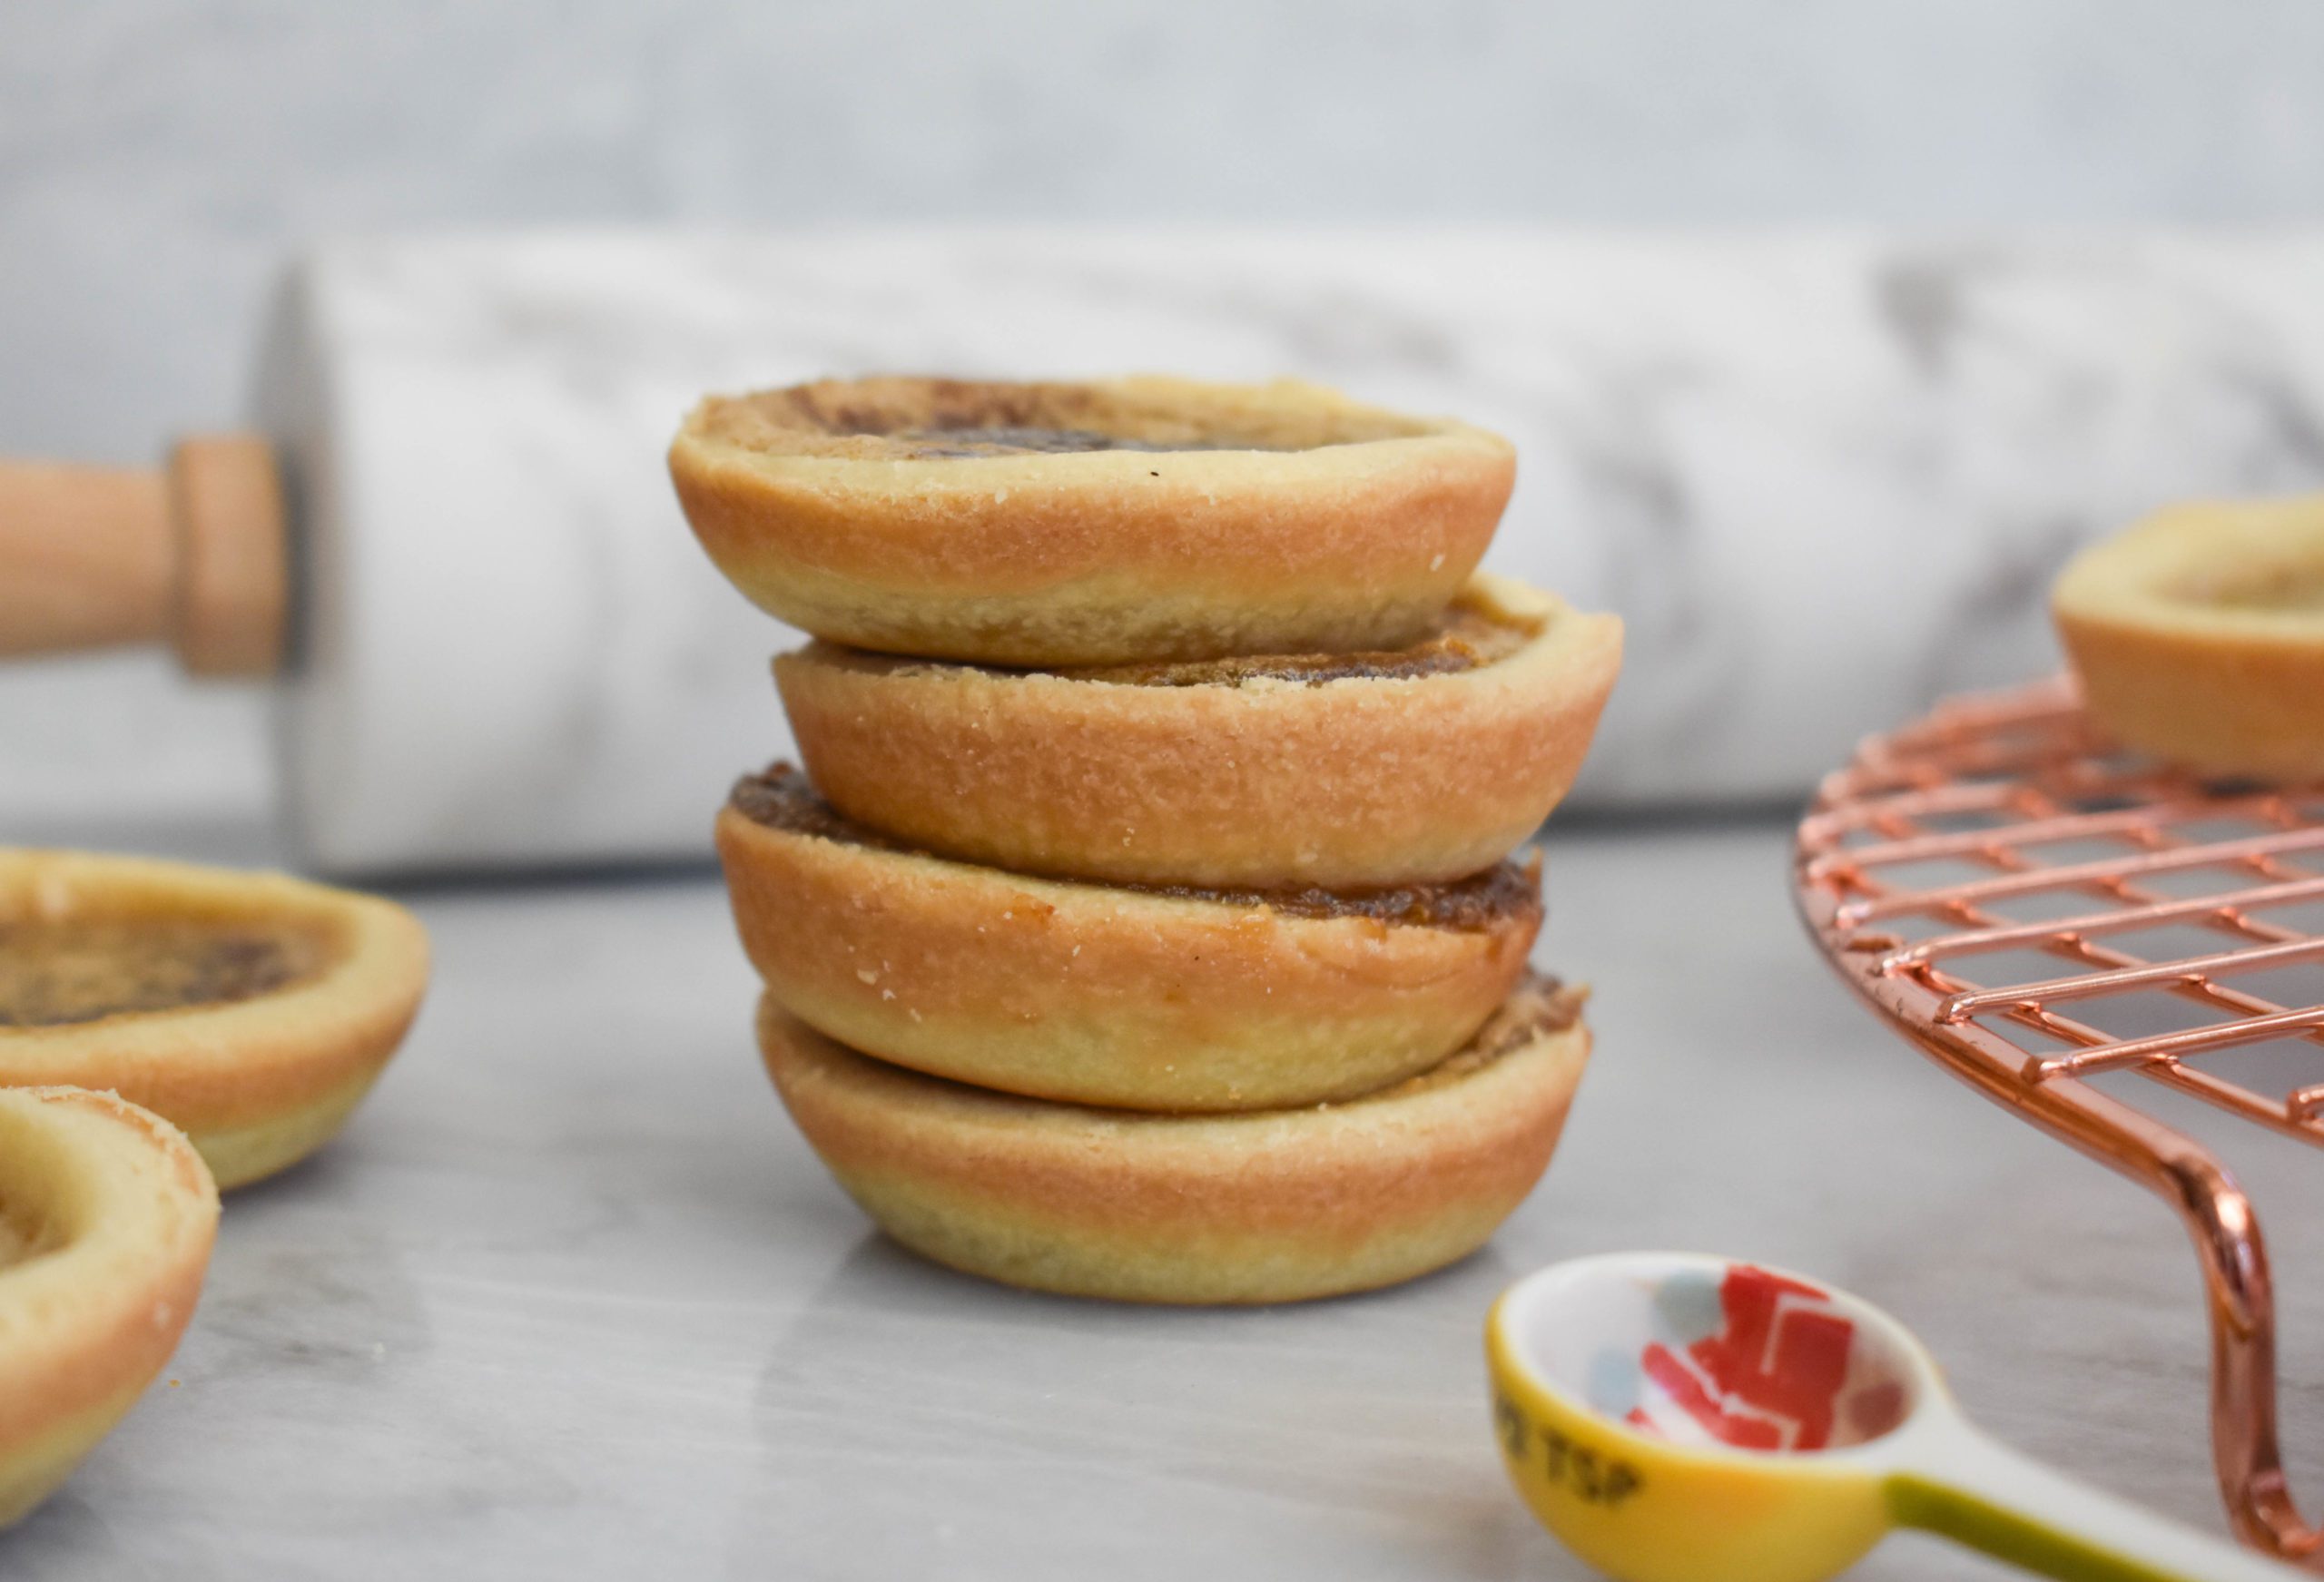
It has been at least a decade since I enjoyed this dessert, and I was excited to create a gluten-free and low-FODMAP version for all my loyal readers.
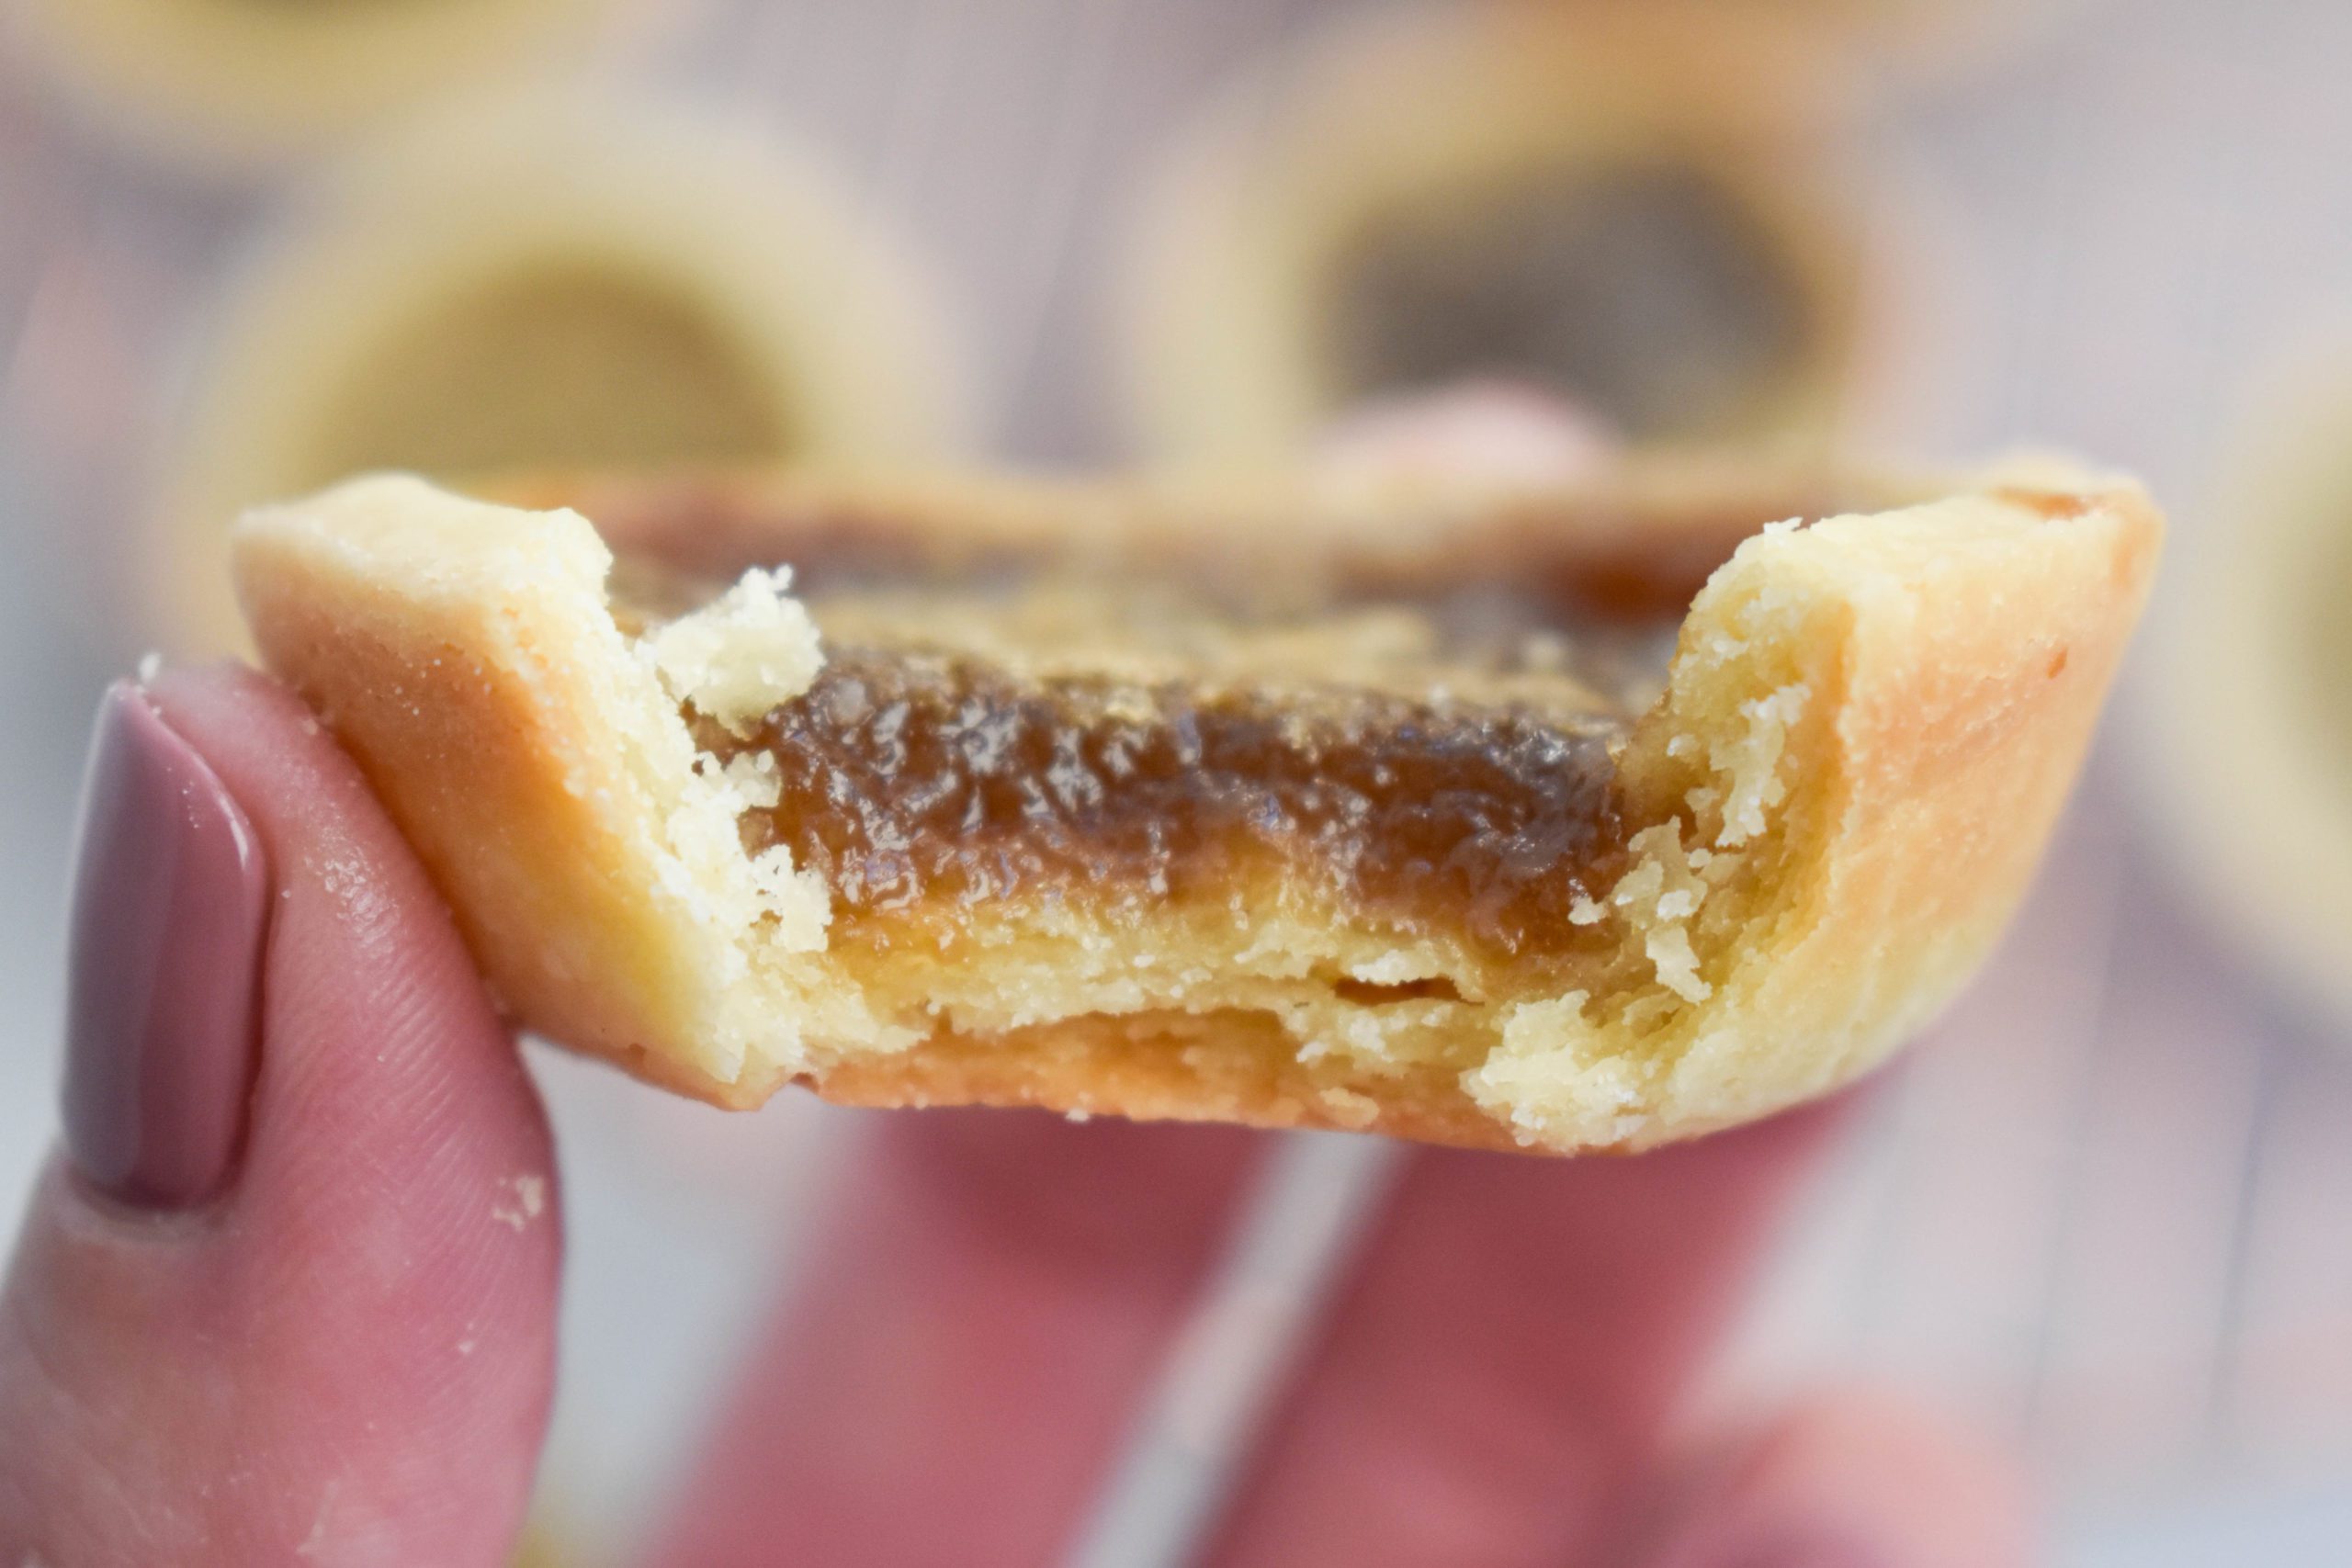
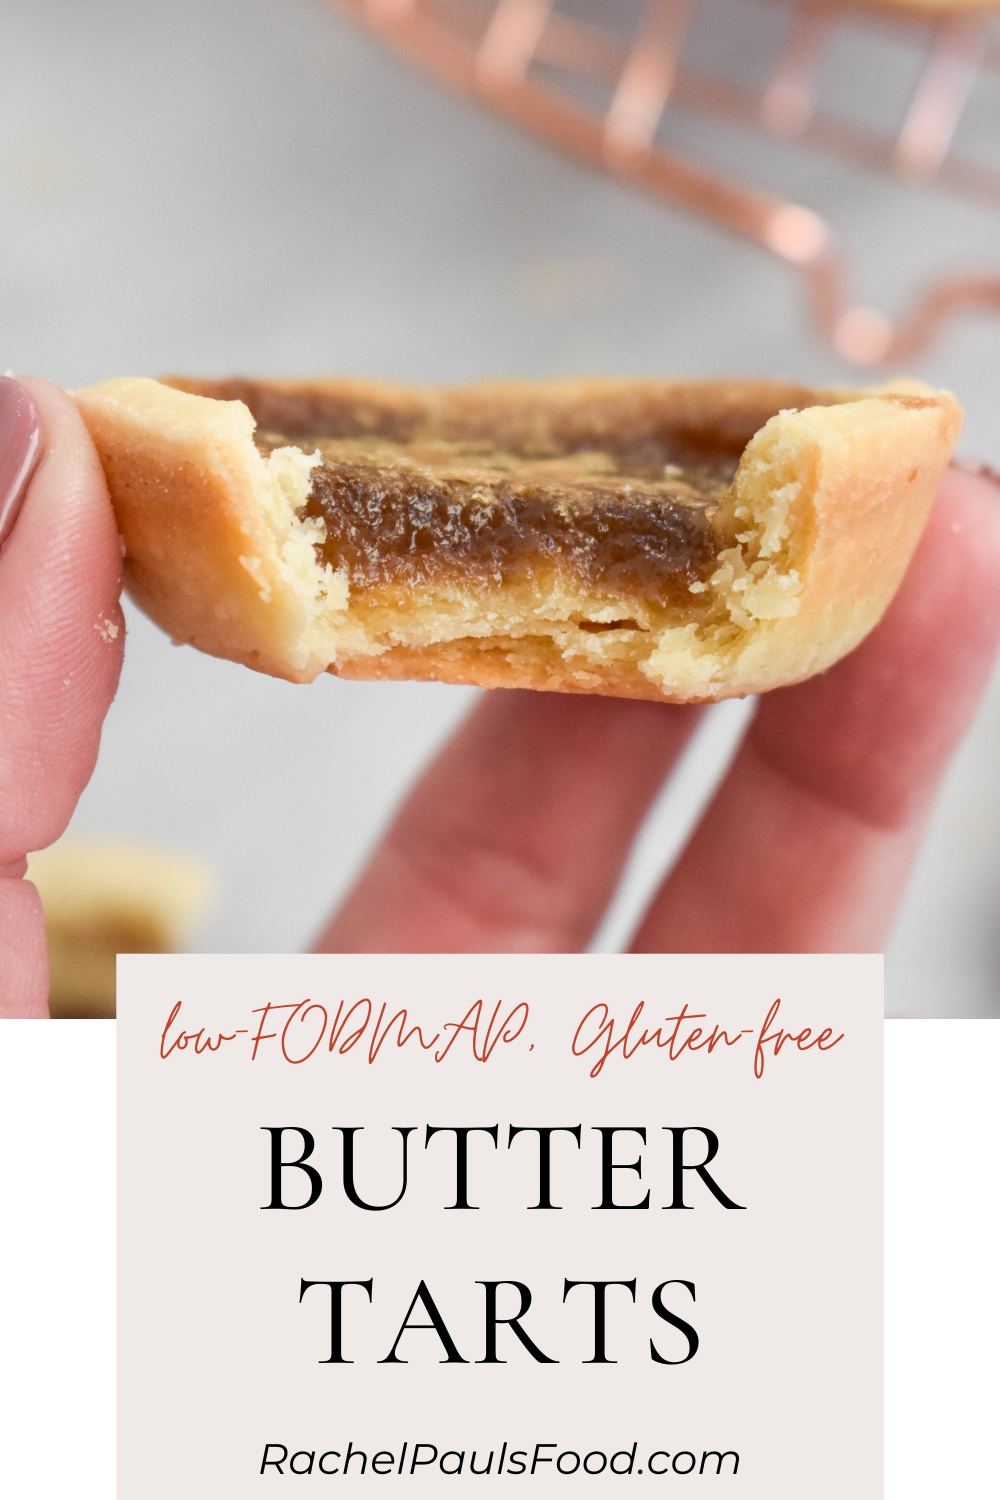
Butter tarts are incredible little treats. A light, flaky crust is the perfect housing for a buttery, sweet, and gooey center. Adding a touch of vinegar cuts the sweetness just right.
Since butter tarts are a tradition in Canada, local variations and preferences exist. There are some strong opinions regarding their consistency and add-ins. For example:
- Should they be runny or firm in the middle?
- Some people like the middle of the tarts to be very liquid-like, so that once you bite the outside crust, it will ooze over your fingers
- Others like their tarts fully set, without any ooze
- I am like Goldilocks in this matter. I want them somewhere between. Firm enough to hold and bite, but with a soft core. You see what you prefer (adjust bake times accordingly)
- What about raisins?
- Adding raisins is standard among the majority of bakeries that serve butter tarts
- I NEVER liked raisins in my butter tarts. I think the texture is just wrong. But I won’t stop you from adding them, or pecans. It’s your recipe too!
For another of my childhood favorites, check out my low-FODMAP Nanaimo Bars recipe!
You may also love my:
- Low-FODMAP Best Speculoos Cookies
- Low-FODMAP Supreme Whoopie Pies with Chocolate Hazelnut Buttercream
- Low-FODMAP Cinnamon Roll Cookies with Coffee Cream Cheese Glaze
- Low-FODMAP ‘Copycat’ York Peppermint Patties
- Low-FODMAP Mini Chocolate Hazelnut Whopper Cookies
- Low-FODMAP Black and White Cookies
- Dr. Rachel’s Best Low-FODMAP Desserts, Sweets and Treats
Or check out over 500 more low-FODMAP recipes on the blog! IBS-friendly.
Be healthy and happy,
Rachel Pauls, MD
 Although this recipe has not been lab tested, a single serving should be low-FODMAP based on the ingredients *using available FODMAP data at time of testing
Serves: 12 tarts
Prep time: 40 min
Bake time: 25 min
Total time: 65 min
Bake: 350F
Equipment: food processor or mixer, 12-well muffin pan, rolling pin
Ingredients
For Pastry:
- 1 & 1/2 cups low-FODMAP, gluten-free flour (I recommend this type for baking)
- 3 tablespoons sweet rice flour (I used Bob’s Red Mill)
- 1 tablespoon and 1 teaspoon granulated sugar
- 3/4 teaspoon xanthan gum
- 1/2 teaspoon salt
- 1/2 cup cold unsalted butter, cut into chunks
- 1 large egg
- 1 tablespoon apple cider vinegar
- 2 tablespoons cold water to consistency
- Vegetable shortening for greasing
For Butter Tart filling:
- 1 cup (190g) light or dark brown sugar, packed
- 1/2 cup dark corn syrup
- You can also use maple syrup, or a combination!
- 1/4 cup unsalted butter, melted
- 2 large eggs
- 1 teaspoon white or apple cider vinegar
- 1 teaspoon vanilla extract
- 1/2 teaspoon salt
- Optional: 1/2 cup raisins or chopped pecans
Directions
Prepare Pastry:
- Grease your muffin tin well with shortening
- Mix flours, sugar, xanthan gum and salt in bowl of electric mixer or food processor
- Add butter in small pieces and mix until crumbly
- Add egg and vinegar
- Mix on low until dough is together, but not sticky, adding cold water as needed
- Form into a ball, wrap in plastic wrap and chill for 10 minutes or until use
- If desired, can freeze dough for 1-2 months or refrigerate for about 1 week at this point
- When ready to roll out:
- Place ball of dough on a sheet of floured wax paper or parchment paper
- Sandwich in a second sheet of paper
- Flatten by hand or with rolling pin until you can cut out 12 rounds (it will be about 1/4 inch thick)
- Refrigerate dough intermittently if needed to help with rolling out (it may not roll properly if too warm)
- Cut dough into 3-3.5″ rounds using a circle cookie cutter, large cup, or small bowl
- Place rounds into a well-greased muffin pan, gently pressing the dough into the bottom of the well and up the sides. I used a wooden tampener. The crust will thin out in the well
- Place muffin pan into the freezer for 10-15 minutes while you prep your filling
Prepare Butter Tart filling:
- Preheat your oven to 350 degrees F
- In a large bowl, whisk together by hand your brown sugar, corn syrup, melted butter, eggs, vinegar, salt, and vanilla until combined
- If you want to use raisins or pecans, then add them here, or place in tart shells before filling
- Gently ladle the filling into the unbaked tart shells, about 2/3 way into the shells, do not overfill
- You want to have a generous rim of crust since the filling puffs up; you may have extra filling (I enjoyed my extra sauce over ice cream)
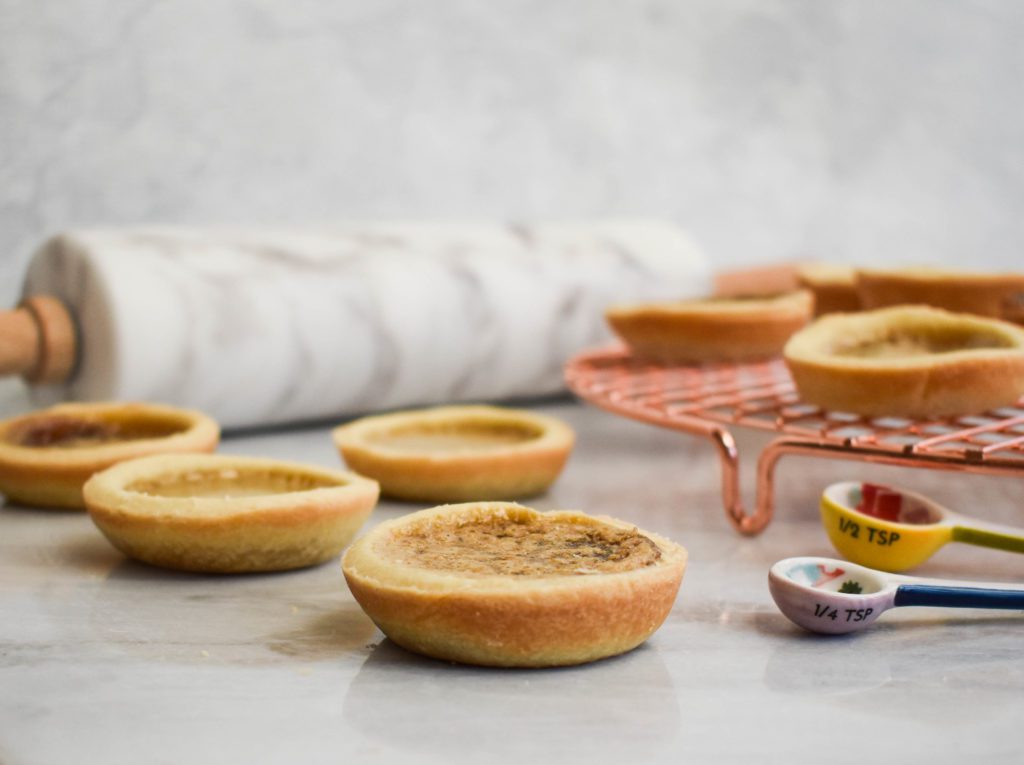
- Bake for 20-25 minutes, until the pastry is golden brown, and the filling has set to your preference
- Let cool for 10 minutes in pan on a wire rack
- Gently transfer the baked tarts to the rack to finish cooling
- Store baked butter tarts in the fridge for several days or in the freezer for 3 months
