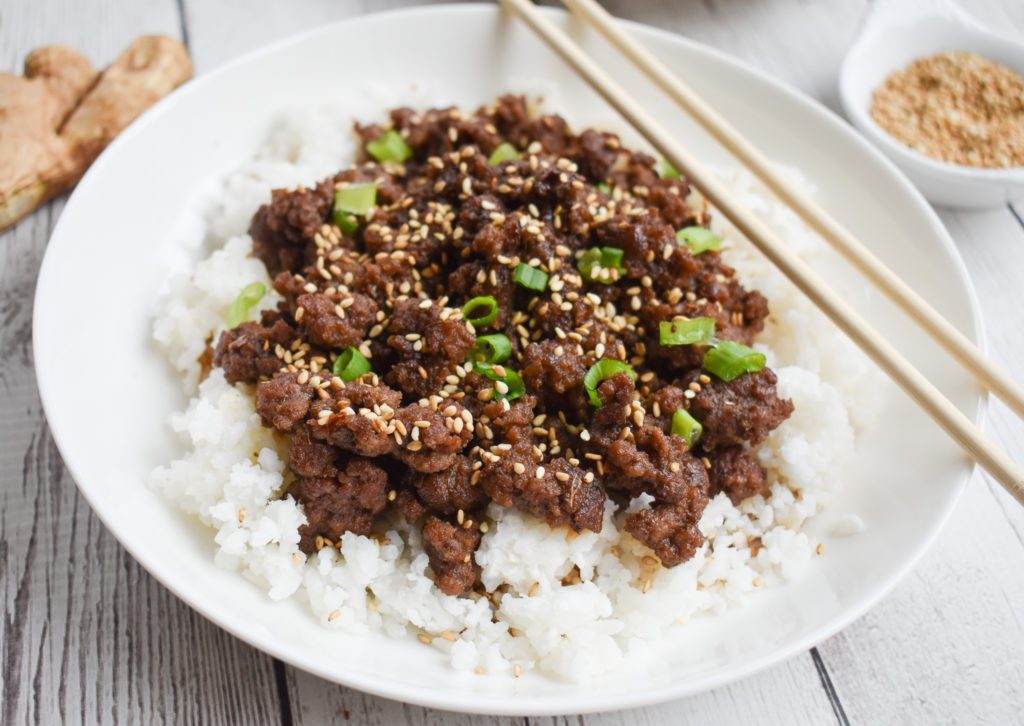
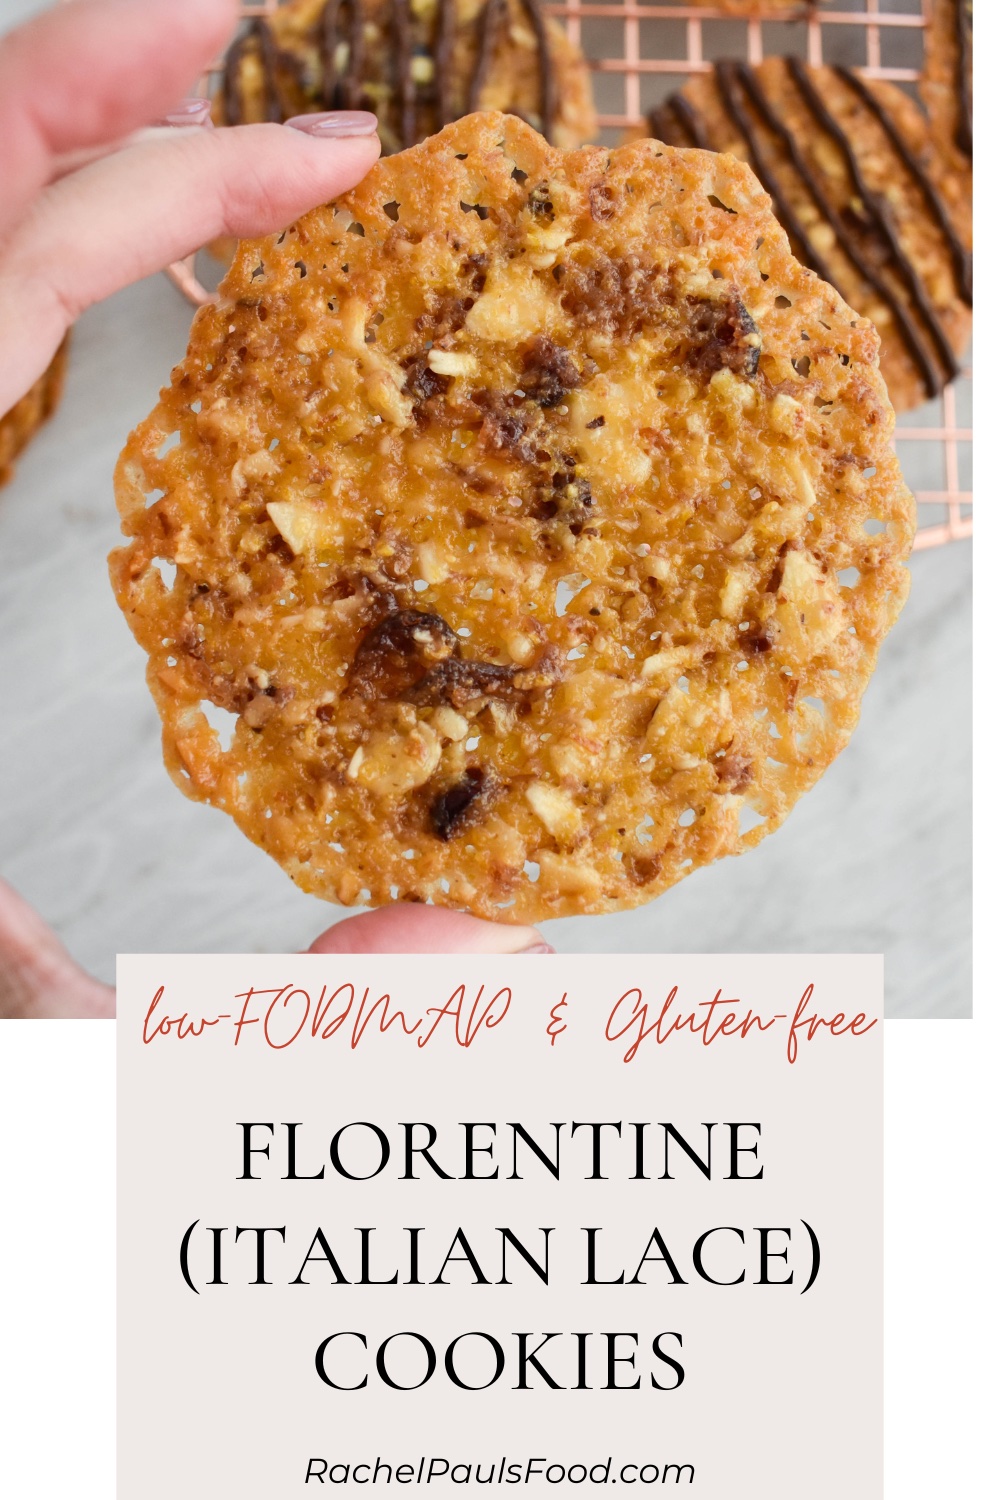
Lacy and delicate Italian cookies with the flavors of orange zest, nuts, and chocolate. Low-FODMAP & Gluten-free.
If you aren’t familiar with these beautiful cookies, Italian Florentines are a lacy and delicate biscuit, packed with nuts and dried fruits, then often topped with chocolate.
My low-FODMAP Chocolate Florentine cookies are a holiday treat that you will crave all-year long ?
I grew up enjoying florentines on many special occasions. My mother used a recipe that incorporated almond slivers, dried cherries, and heavy cream. She would use a muffin tin to bake them, so they were less lacy, but chewy and delicious.
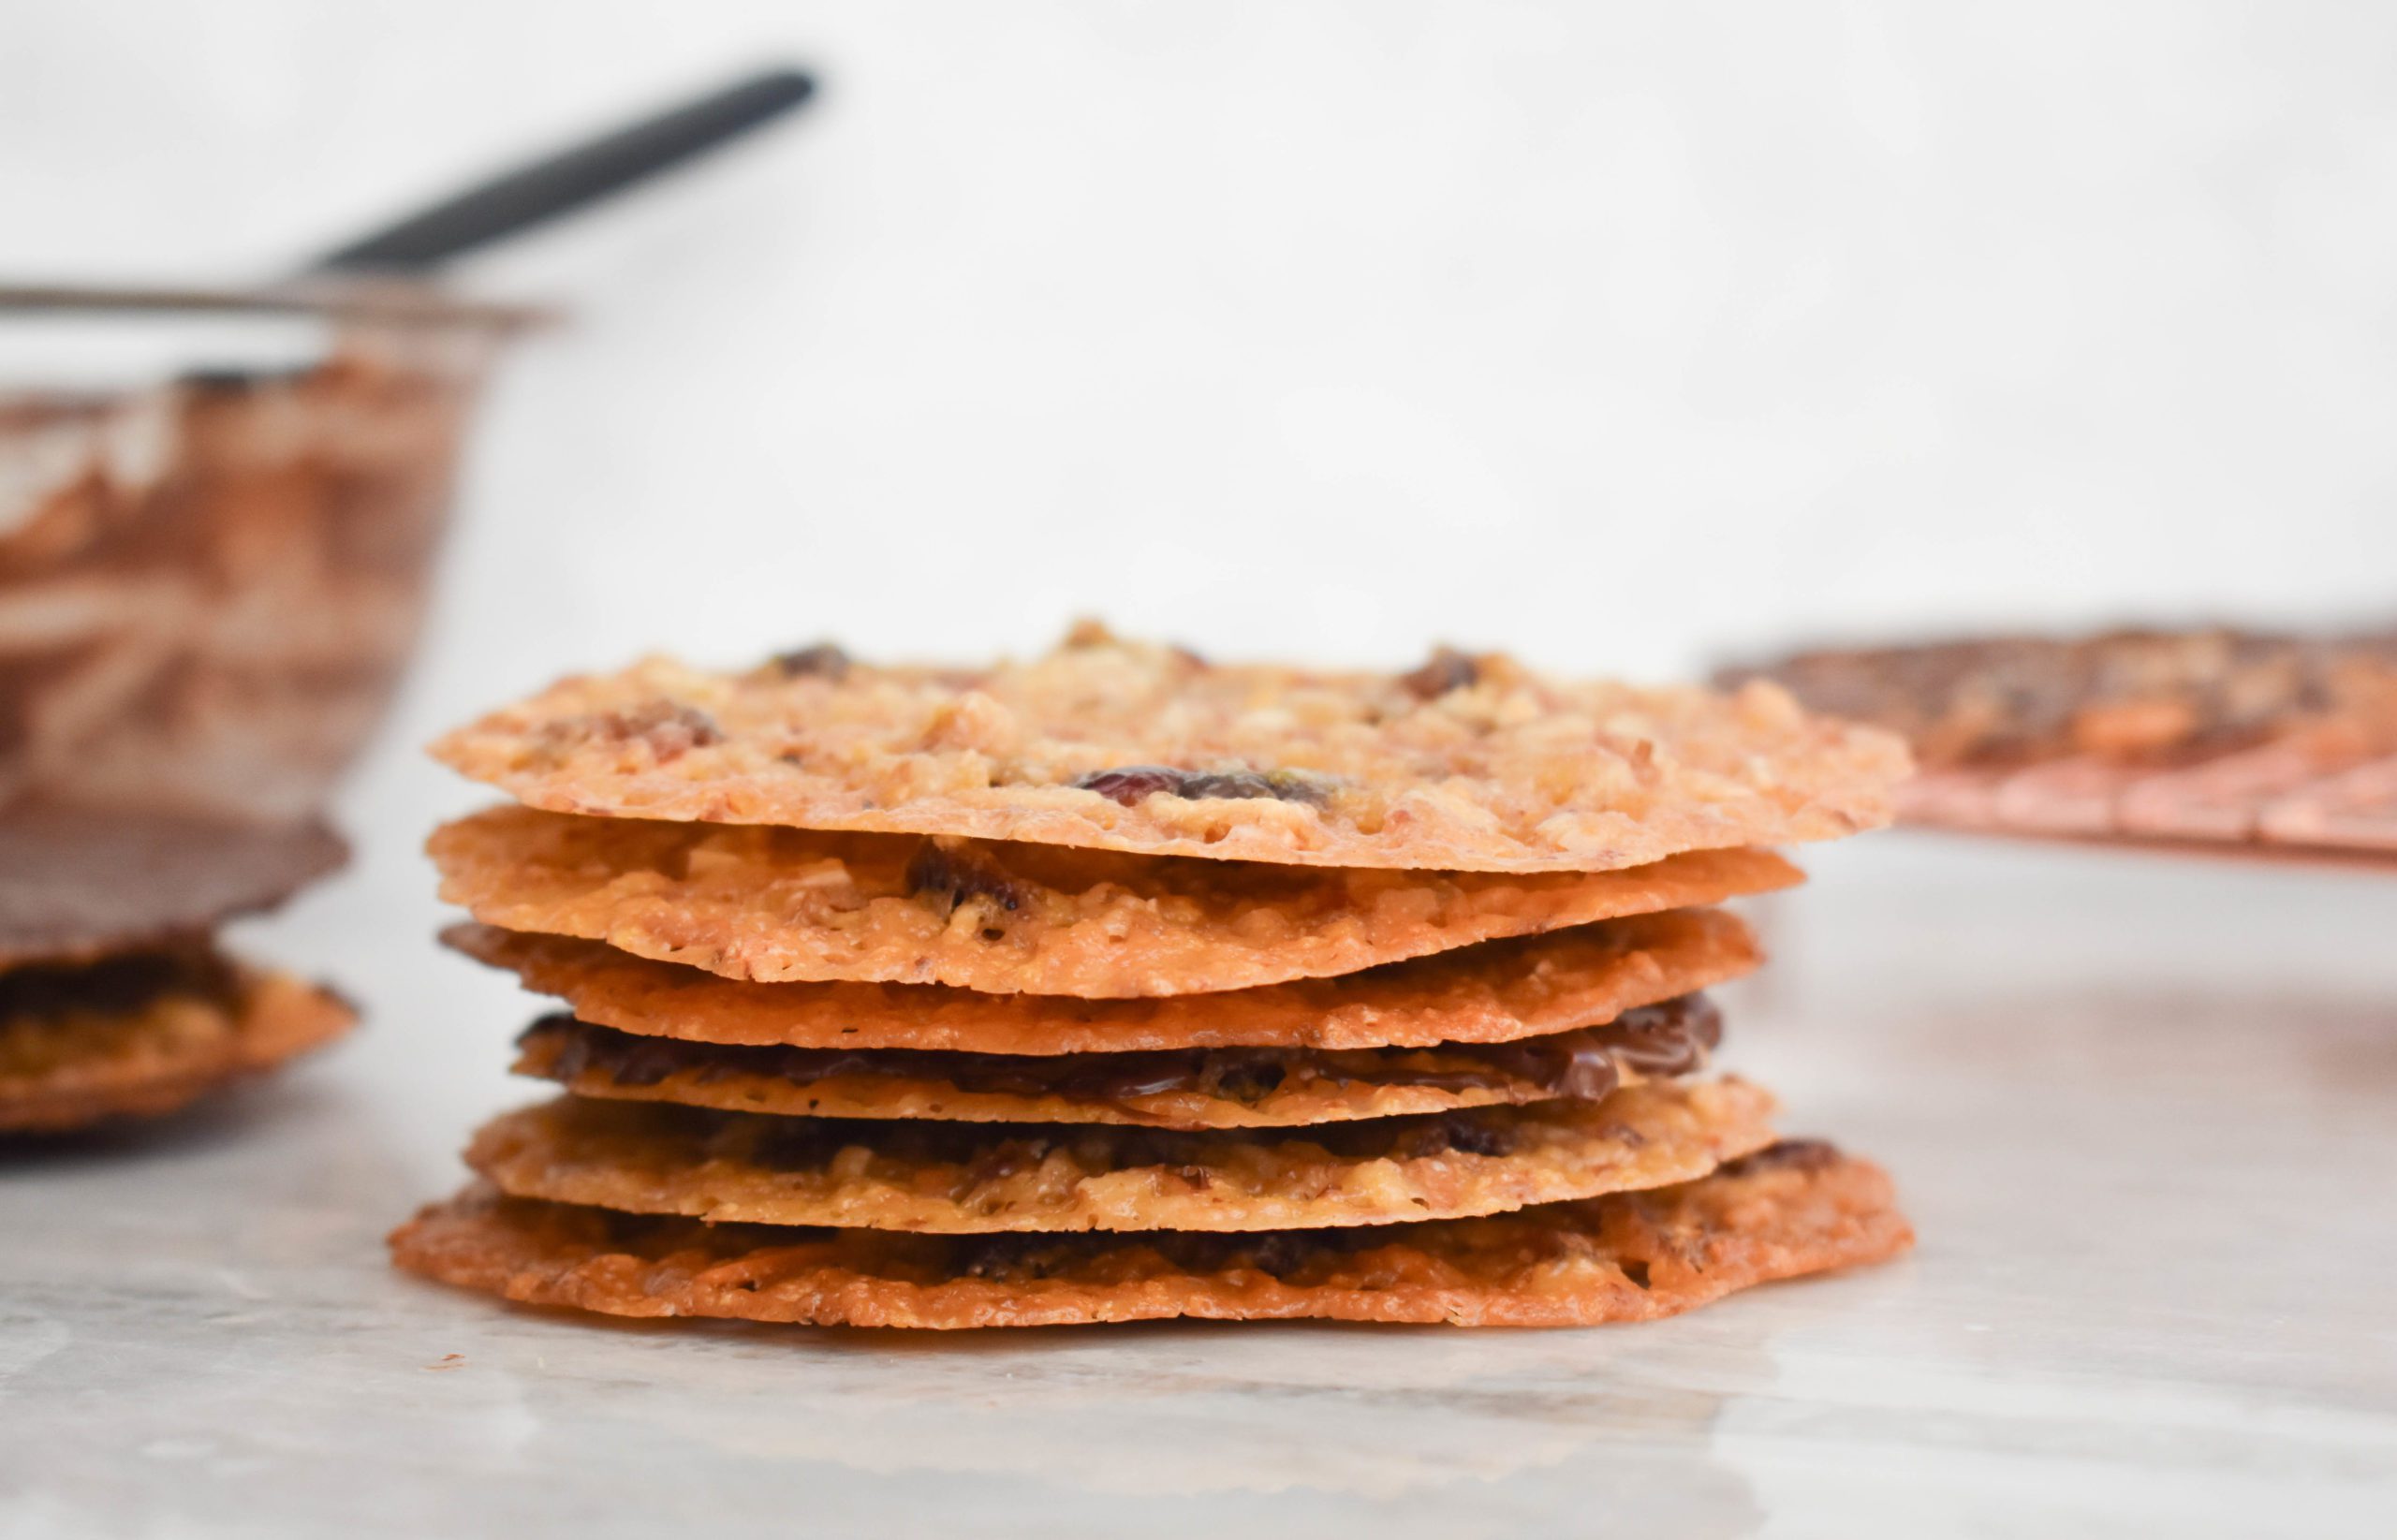
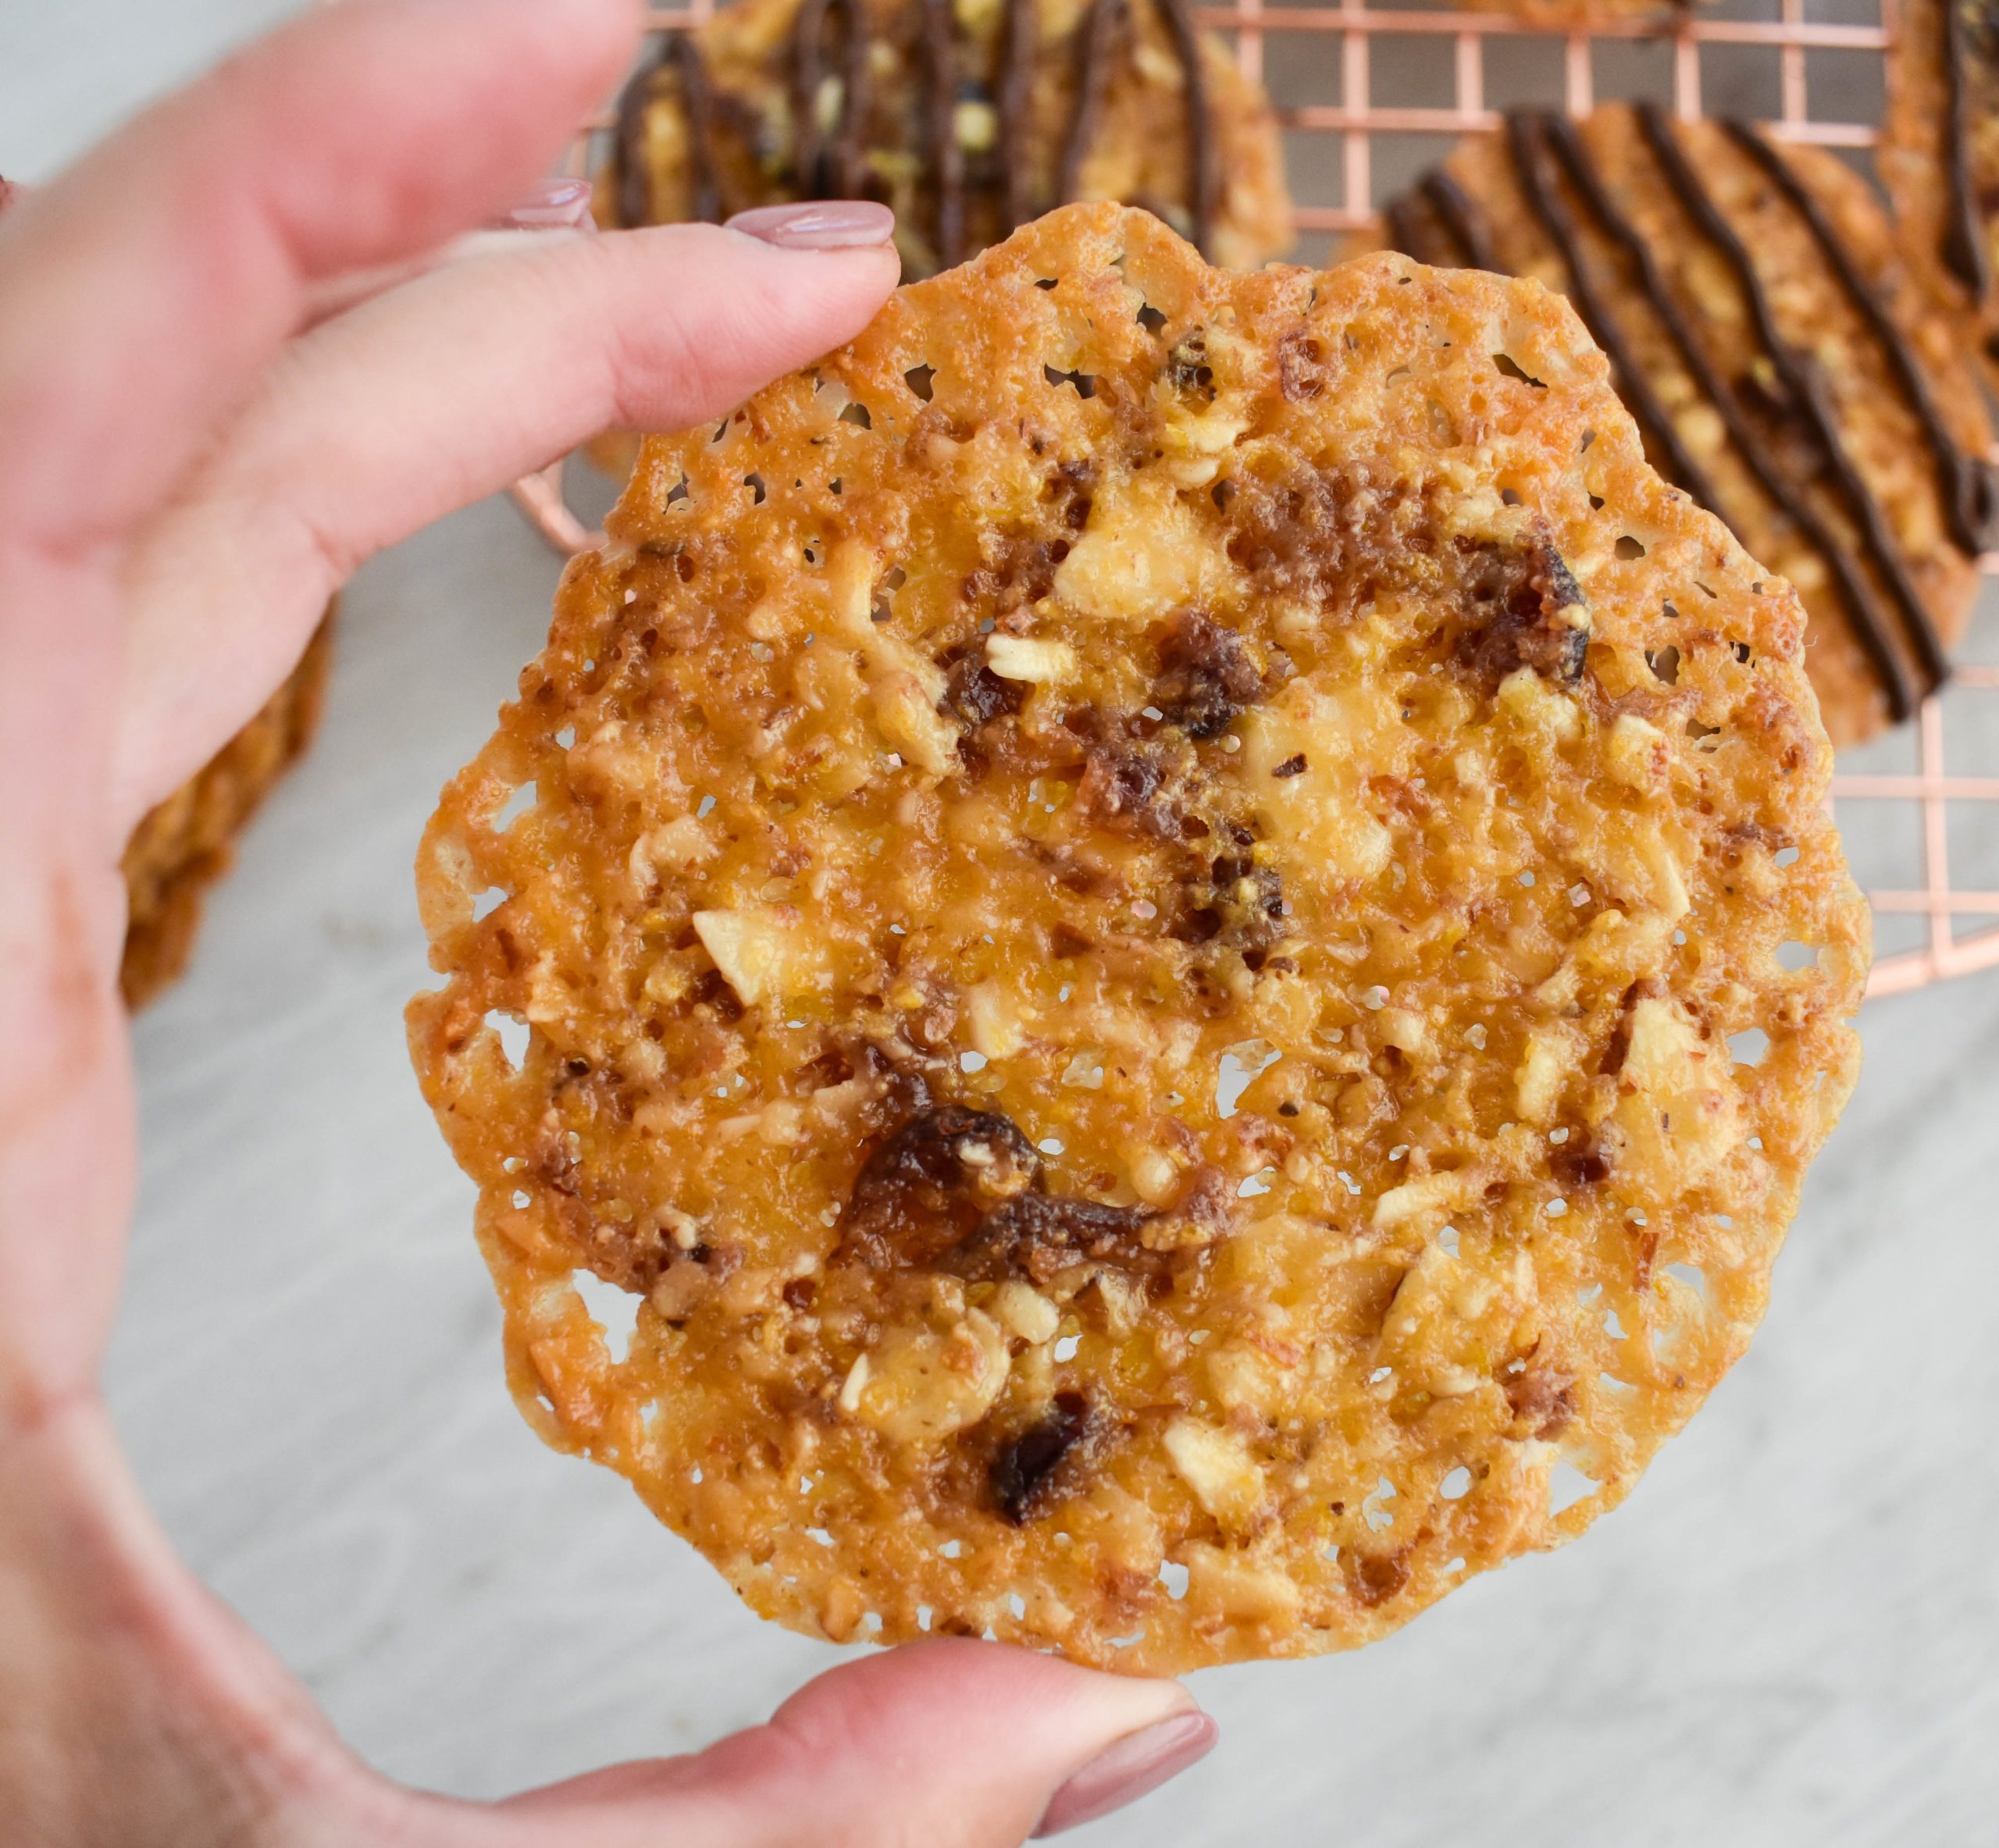
My low-FODMAP version is a bit more traditional. I selected dried cranberries, since I love their color and taste, but stayed away from cherries, and other high-FODMAP ingredients. We are using a combination of almonds and walnuts for that crunchy texture, and cornflake crumbs to add body. Orange zest provides extra holiday flavor.
I always style my Florentines with a chocolate coating, but have three choices for you in that regard:
- Some bakers create a ‘sandwich’ with the chocolate between;
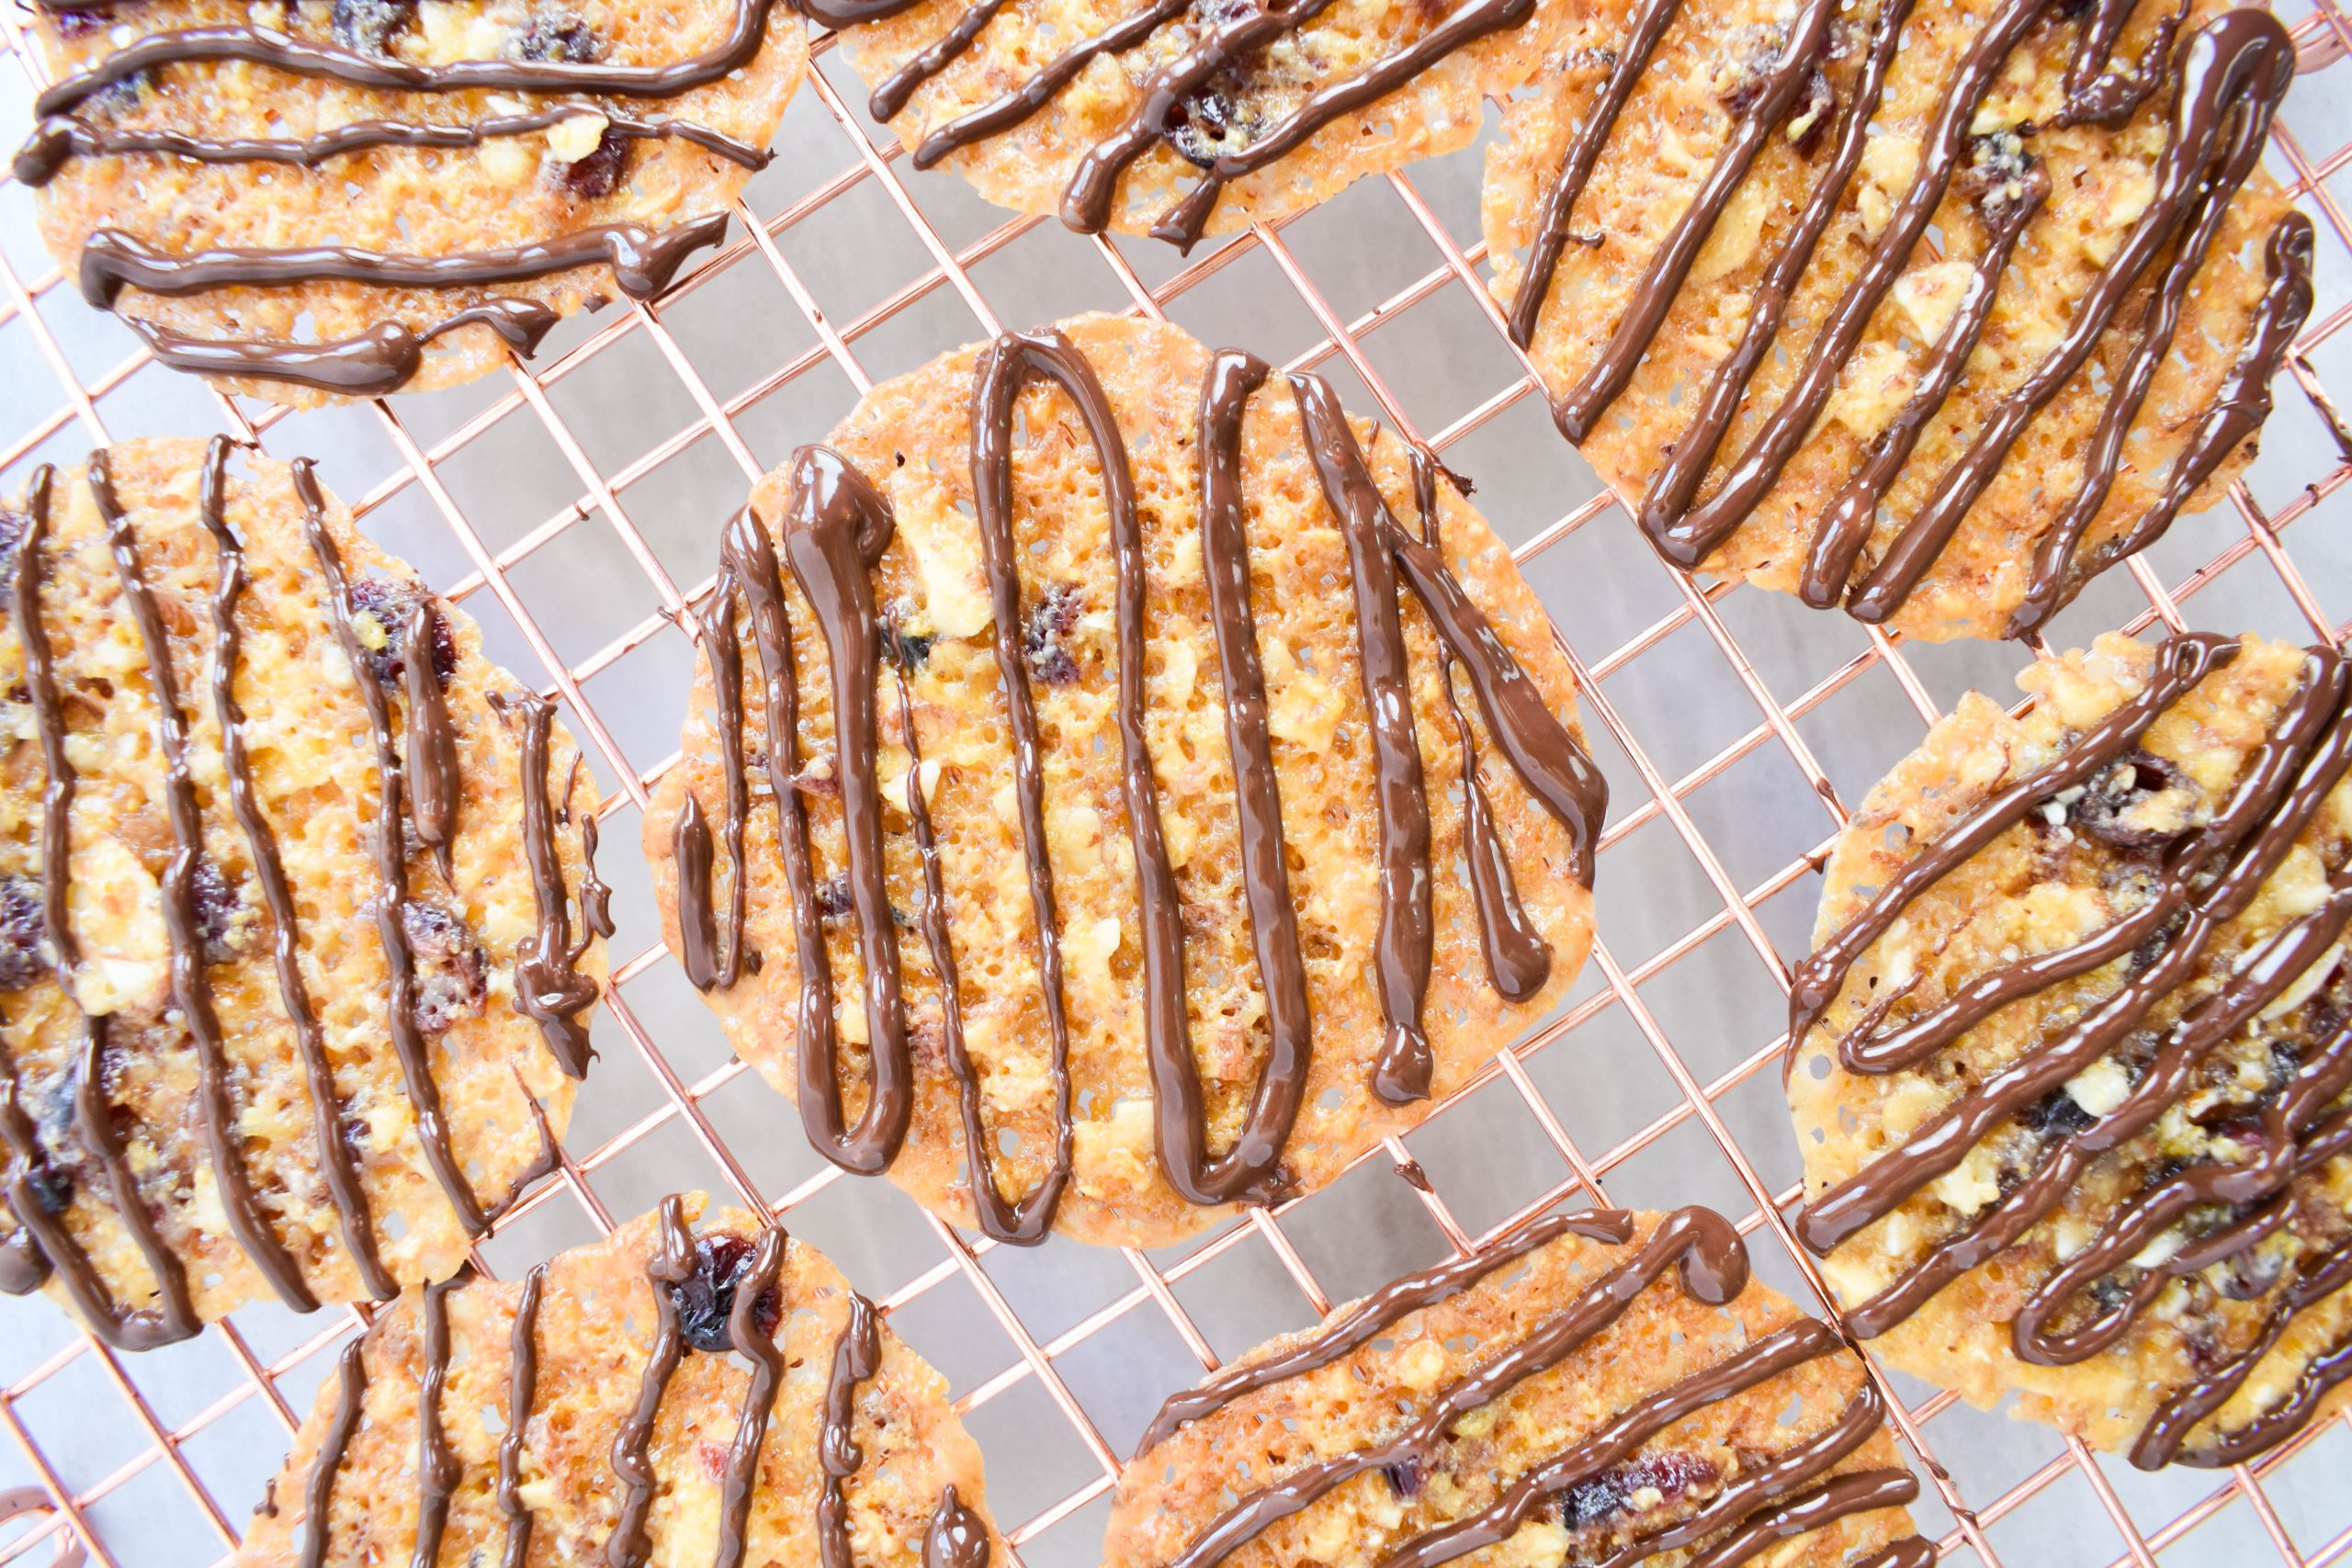
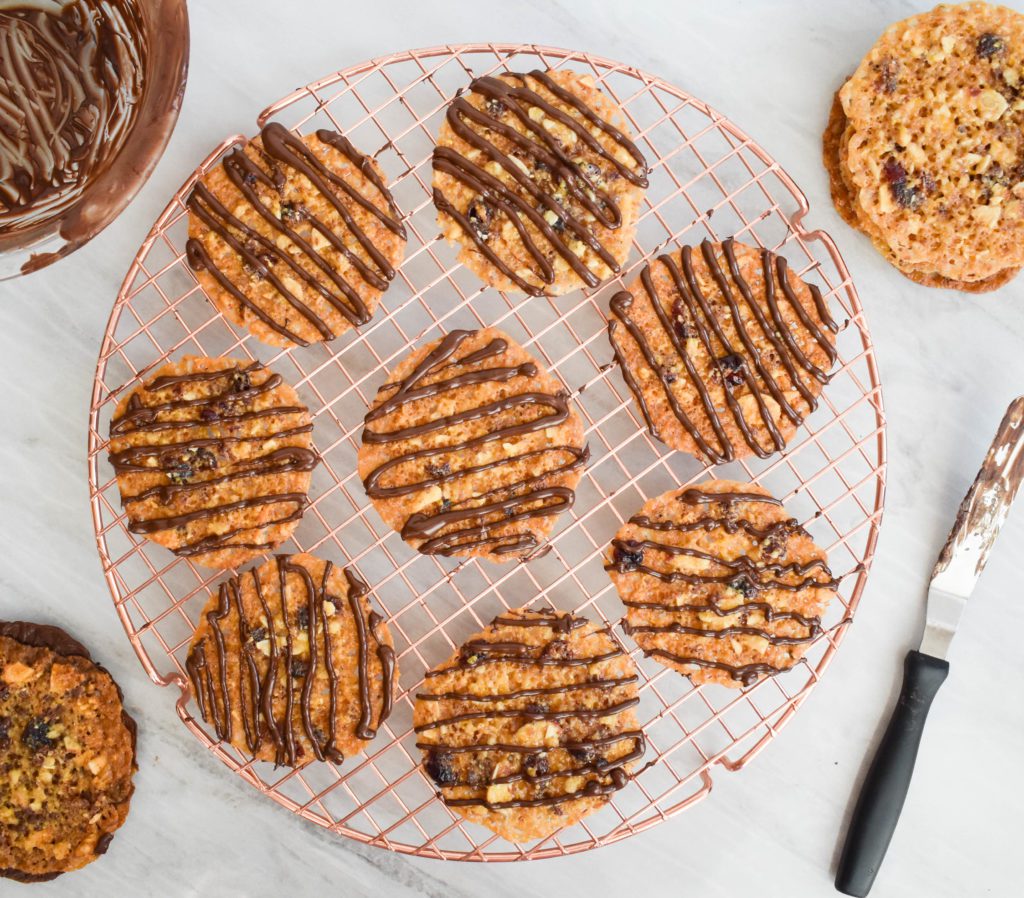
- Other recipes advise drizzling the chocolate in lines with a piping bag (my mom’s favorite);
- Finally, if you have ever watched ‘The British Baking Show’, there was an episode with florentines as the technical challenge! Their version included spreading the backs of each cookie with a layer of chocolate, and then using a fork to create a zigzag pattern in the chocolate before hardening.
Don’t be intimidated by how fancy these low-FODMAP Chocolate Florentines look. They are actually rather simple to make.
You may also love my:
- Low-FODMAP Cinnamon Roll Cookies with Coffee Cream Cheese Glaze
- Low-FODMAP Raspberry Frangipane Bars with White Chocolate Drizzle
- Low-FODMAP Copycat York Peppermint Patty
- Low-FODMAP Dream Bars
- Low-FODMAP Raspberry Thumbprint Cookies
Or check out over 500 more low-FODMAP recipes on the blog! IBS-friendly.
Be healthy and happy,
Rachel Pauls, MD
Although this recipe has not been lab tested, a single serving should be low-FODMAP based on the ingredients (using available FODMAP data at time of testing)
Yield: 18-24 cookies, depending on size; 1-2 per serving
Prep time: 10 min
Bake time: 27-30 min (3 separate bake times for the 3 sheets)
Total time: 40 min
Bake 350 F
Equipment: 2-3 large baking trays, silicone baking mat or parchment paper, large saucepan, food processor
Ingredients
- 1/4 cup (1/2 stick) unsalted butter
- 1/4 cup light brown sugar, packed
- 1/4 cup light corn syrup
- 1 teaspoon vanilla extract
- 1/3 cup, plus 2 tablespoons all-purpose low-FODMAP, gluten-free flour
- A pinch of salt
- 1 tablespoon finely grated orange zest
- 40g (1/3 cup) dried cranberries, finely chopped
- 15 g is one low-FODMAP serving
- 30g (1/4 cup) flaked almonds, finely chopped
- 12 g is one low-FODMAP serving
- 25 g (1/4 cup) walnuts, finely chopped
- 30 g is one low-FODMAP serving
- 1/4 cup (40g) cornflake crumbs
- Note, Kellogg’s Corn Flakes are low-FODMAP, but not gluten-free
- For a gluten-free version, use a brand of gluten-free cornflakes with low-FODMAP ingredients and crush in your processor. Select an option without added fruit juices (Nestle Corn Flakes is an example)
- 200g (7 oz) semisweet or bittersweet chocolate, broken into pieces
- 30g is one low-FODMAP serving
Directions
- Preheat your oven to 350 F and place your rack in the center of oven
- Line 1-2 baking trays with a silicone mat or parchment paper (you will need to bake in batches)
- Process your nuts and cornflakes (if necessary) in a food processor until crumb-like
- Place the butter, brown sugar, corn syrup and vanilla in a medium saucepan and melt gently over a low heat. Bring to a boil, (about 3-4 minutes) then remove from heat
- Stir in the low-FODMAP flour, salt, orange zest, cranberries, almonds, walnuts, and cornflake crumbs and mix well to form a wet dough. It will be warm and soft, but it should not be runny
- Take 1-2 teaspoons of the dough (depending on desired size of cookies) and place it on the lined baking sheet. Roughly keep in a ball shape using your fingers. Repeat for about 6 cookies per sheet (they will spread a lot)
- For larger cookies, use a larger spoon
- Bake each tray individually for 9-12 mins until golden (watch closely)
- They are done when golden and set on the edges, but still soft and gooey in the center
- Allow to cool slightly/harden a little on the tray for 1-2 minutes. As soon as they will stay together, transfer to a wire rack to cool completely using a flat spatula (I like a fish spatula for this)
- While baking cookies, melt the dark chocolate in a small bowl in 10 second intervals in the microwave, or use a double boiler
- You should intermittently stir the chocolate to ensure even warming, or it can burn
- Decorate the cookies with the chocolate using one of the three ways:
- If making a chocolate sandwich:
- Place 1-2 teaspoons of melted chocolate on the back of a cooled florentine cookie and smooth out to cover the whole side using a slanted knife. Then cover with a second cookie, back side toward the middle
- If making the zigzag chocolate on the back:
- Place a teaspoon sized blob of melted chocolate on the back of each cooled florentine cookie and smooth out to cover the whole side using a slanted knife. Just before the chocolate starts to set, scrape fork tines through the chocolate in a zigzag pattern. Gently place on a baking sheet with the chocolate side up to cool completely
- If drizzling chocolate lines:
- Place the melted chocolate in a piping bag or plastic bag with one corner cut, then drizzle in lines over each cookie and allow to cool
- If making a chocolate sandwich:
- Store in an airtight container at room temperature (can also refrigerate if desired)
